
It has been a really lengthy and seemingly countless course of, however yesterday I lastly put the ending touches on the IKEA cupboards that I used on the mural wall. They’re now fully put in and completed, and as quickly as I get the outlet scenario completed up, I’ll be prepared to start out organizing issues in my cupboards and drawers. Because the posts about this mission have been unfold out over an extended time frame, and I didn’t truly end the ultimate step (the filler strips) till yesterday, I needed to place all the details about putting in IKEA cupboards in my studio in a single submit to indicate your entire course of from begin to end.
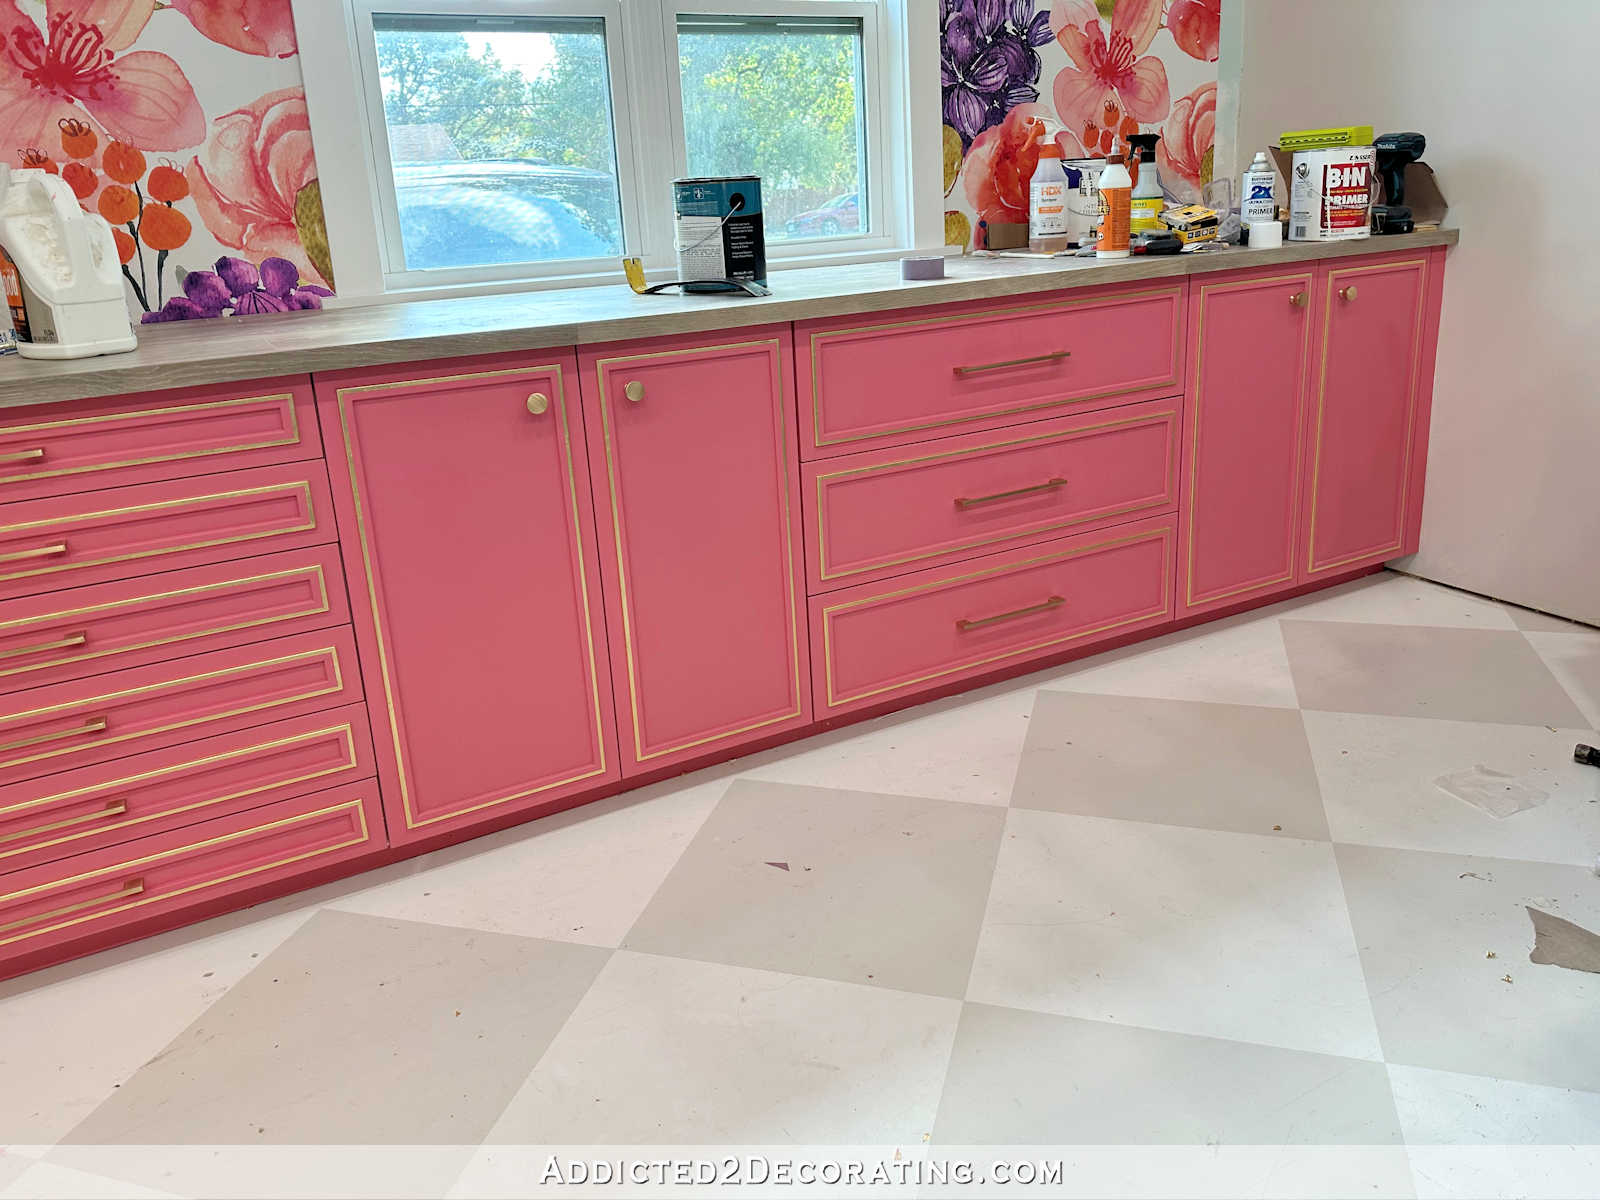
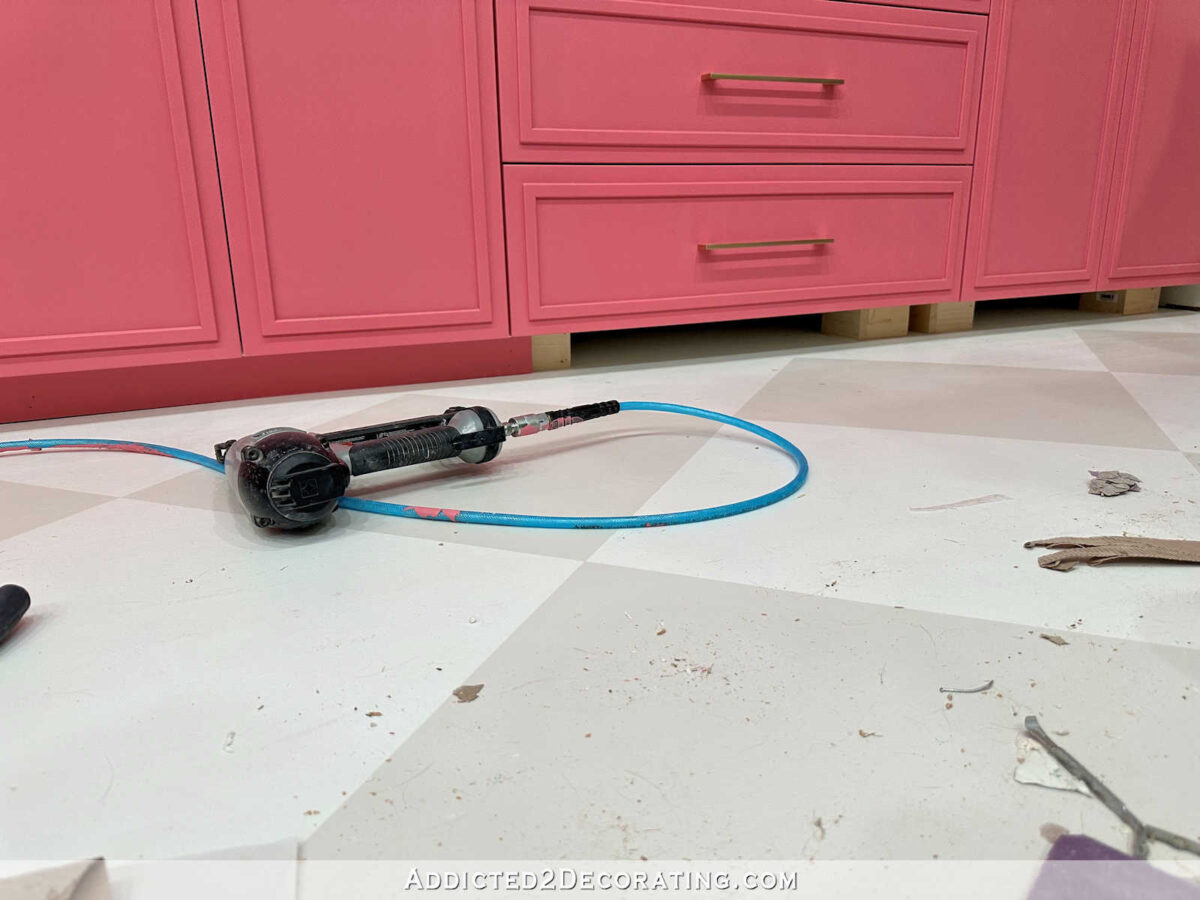
However first, right here’s a glimpse of the completed cupboards, full with the completed toekick and the filler strips between the cupboards and the aspect partitions.


So let me begin from the very starting and provides a walkthrough of your entire course of that I used, from begin to end, to put in these IKEA Sektion cupboards on the lengthy mural wall of my studio.
1. Connect the hanging rail to the wall.
I didn’t truly use IKEA’s hanging rails as a result of I forgot to organize them, and the delivery prices on these alone would have been ridiculously costly. (I don’t dwell near an IKEA.) So as a substitute, I simply used 1″ x 4″ lumber throughout your entire width of the wall screwed into studs.

I additionally put a narrower strip about 5 inches from the ground to behave as a spacer for the underside of the cupboards to carry them off of the wall on the identical distance.
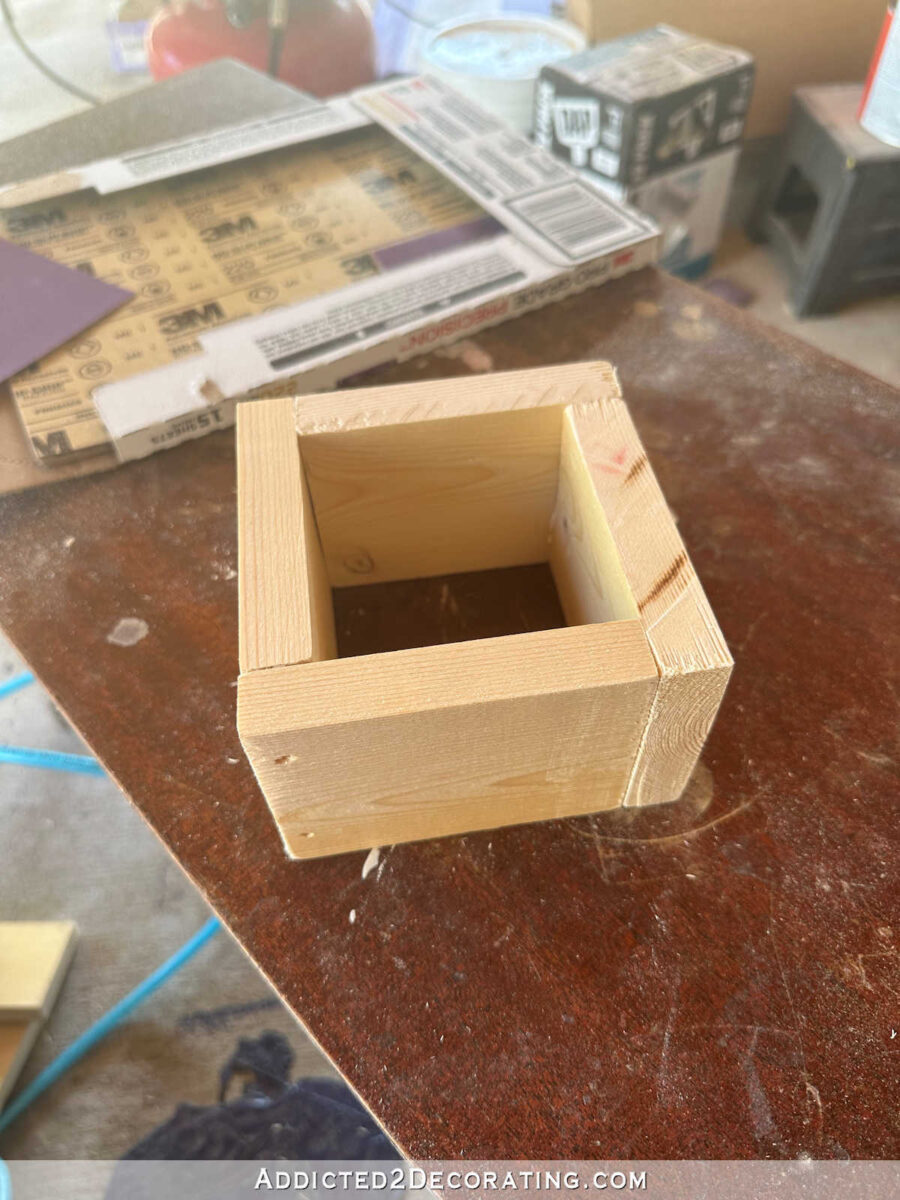
2. Set up the toes on the cupboards (IKEA Sektion toes different)
I additionally didn’t buy IKEA’s toes for the Sektion cupboards as a result of they have been too tall for my functions. I wanted my cupboards to be not more than 33″ excessive, which signifies that my toes might be not more than 3″ excessive. The minimal peak for IKEA’s adjustable Sektion legs is 3.5″.
So I used some cheap lumber, ran it via my desk noticed to chop it down to three″ large, after which reduce items that have been about 4″ lengthy. I glued and nailed 4 items collectively to make every foot, as proven beneath.
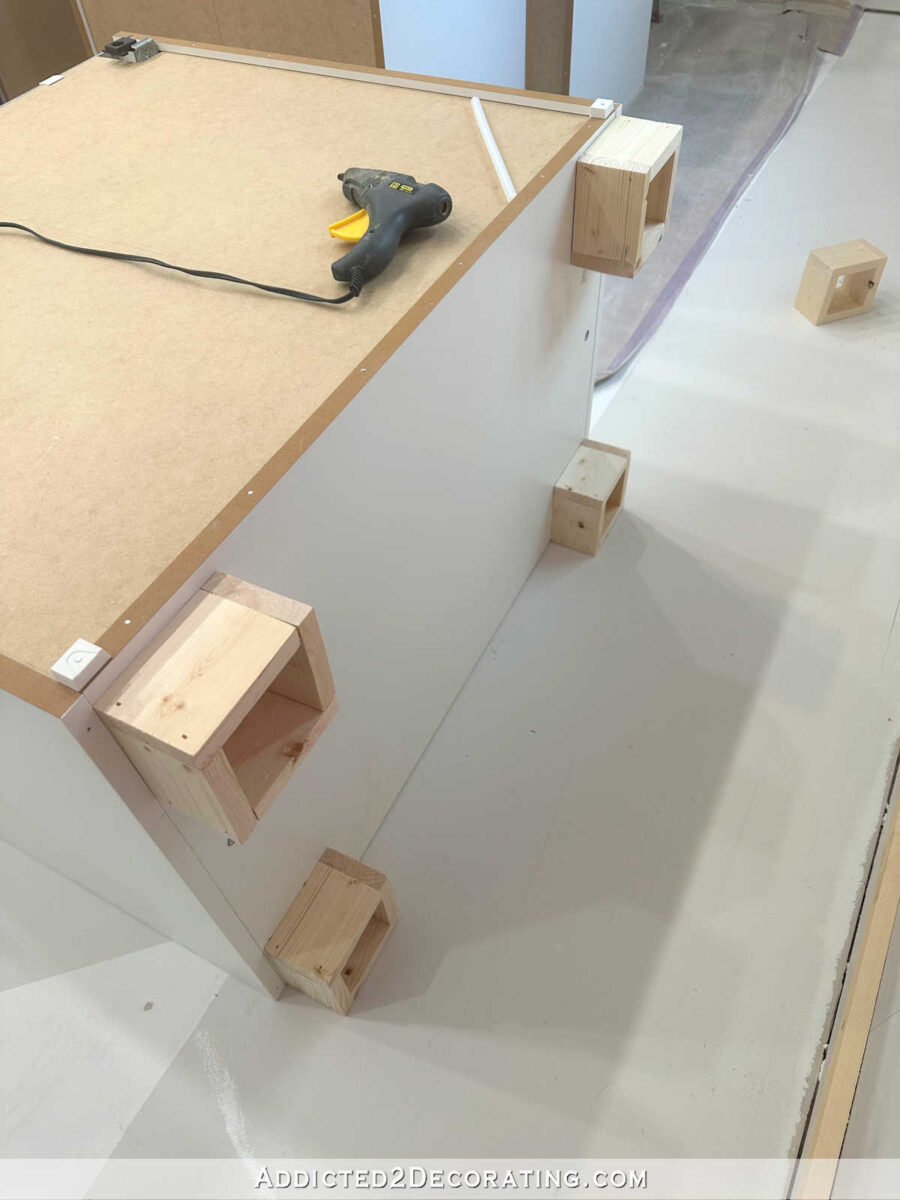
After which I connected them to the underside of the cupboards utilizing scorching glue. I’ll repeat this once more. No woodworker must be utilizing a tiny craft retailer scorching glue gun. Go to House Depot or one other massive house enchancment retailer, go to the software part, and purchase your self an enormous scorching glue gun that may put out a complete lot of glue with every squeeze of the set off.
3. Connect the cupboards to the rails.
You’ll must remember to rigorously learn the directions (correction: rigorously have a look at the drawings within the wordless instruction pamphlets) that include the IKEA Sektion cupboards as a result of the best way during which you put in the mounting brackets onto your cupboards is decided by whether or not or not you’re utilizing IKEA’s hanging rails. If you’re, the brackets are connected utilizing one set of holes. Should you’re not (I didn’t), then the brackets are connected utilizing one other set of holes.
Since I wasn’t utilizing IKEA’s hanging rails, I connected my brackets appropriately in order that they might screw proper into the mounting board I had connected to the wall. I measured rigorously and positioned every cupboard the place I needed it, after which screwed a mounting screw via the large gap within the bracket and into the board.

After which I hung this little bracket (these include the IKEA Sektion {hardware}) over every screw, however I didn’t tighten them fully at this level. I needed the cupboards to nonetheless have the ability to transfer a bit bit.
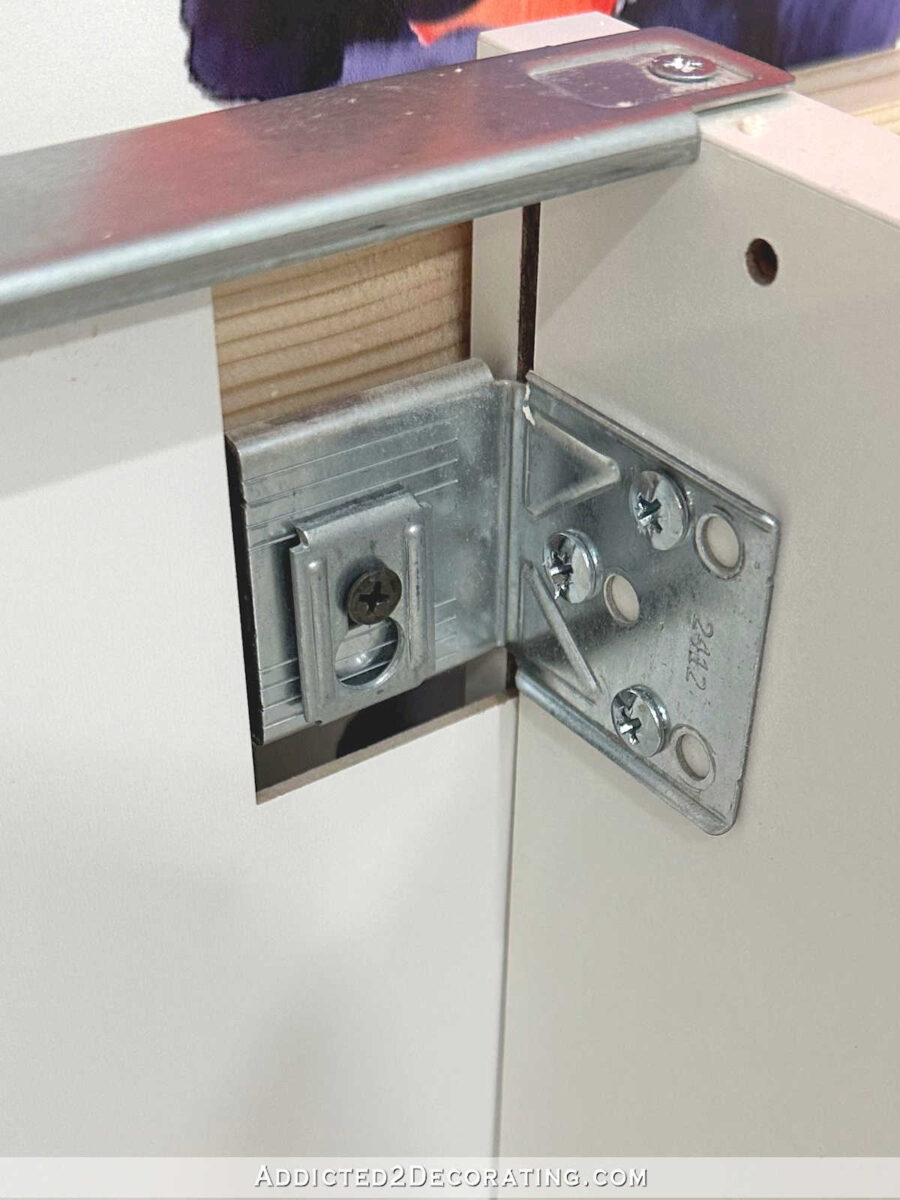
Right here’s what the cupboard seemed like from the aspect view at this level…

4. Screw the cupboards to one another.
With the cupboards positioned within the appropriate order alongside the wall, and secured loosely to the board that was screwed into the studs, I used to be able to screw the cupboards to one another.
This took a while to get it excellent, and required a minimal of three clamps to carry the cupboards collectively as I used to be screwing them collectively. The cupboards don’t include these screw holes pre-drilled, and the directions don’t say to pre-drill the holes, however I did pre-drill as a result of it’s simpler and there’s much less of an opportunity that you simply’ll crack the melamine for those who pre-drill the holes. The screws which can be used to screw the cupboards collectively include the cupboards.

5. Tighten the cupboards to the mounting strip
As soon as all the cupboards have been in place and screwed to one another, I went again and tightened these screws holding the cupboards to the mounting strip on the wall. I used my stage with every one to verify I wasn’t getting the cupboards out of stage whereas tightening the screws.

Right here’s what it seemed like at this level with all the cupboards screwed to one another and tightened to the wall.

6. Set up the toe kick
I had initially not deliberate to do a toe kick. I had deliberate to trim out the underside of the cupboards with out a toe kick such as you would with a built-in bookcase. However later, I made a decision to do a toe kick as a substitute, which meant that I wanted to maneuver the toes again a number of inches.
I might have prevented this problem had I deliberate a toe kick from the start and positioned the toes the suitable distance from the entrance of the cupboard containers. Nevertheless it wasn’t that massive of a deal, and it wasn’t something a number of whacks with a hammer couldn’t repair.
I used the hammer to loosen the recent glue, then moved the toes again the place I needed them for a toe kick, and re-glued them.

After which the toe kick simply connected proper to the entrance of these block toes. IKEA sells toe kick strips to match all of their cupboards, however since I painted my cupboards a customized colour, I simply used leftover lumber for my toe kicks. I needed to rip the boards on my desk noticed to get the appropriate 3-inch peak, however it labored simply high-quality. I painted them to match the cupboards first, after which nailed them into place.
7. Add filler strips between cupboards and wall.
The final step was to fill within the areas between the cupboards and the aspect partitions. I used 2″ x 2″ lumber (which is basically 1.5″ x 1.5″) for this. The cupboard containers are 30″ excessive, so I reduce a 2″ x 2″ to about 28 inches in size, after which I used my scorching glue gun to attach this to the aspect of the cupboard with the entrance flush with the entrance fringe of the cupboard field. As soon as the glue dries, you’ll be able to observe up with screws in the identical method that the cupboards have been screwed collectively. I opted to simply use the glue, although.
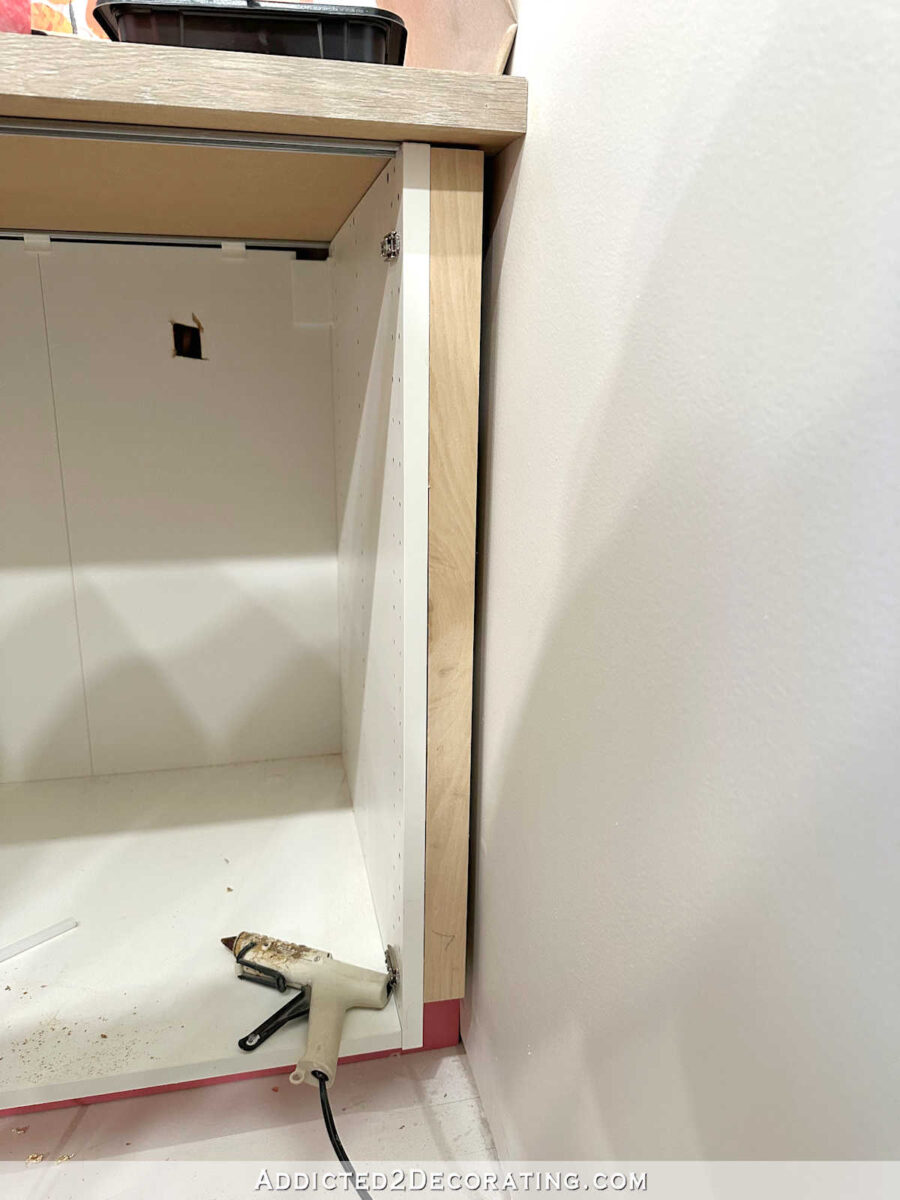
As soon as the glue was fully dry, I put the door on and measured the house between the sting of the door and the wall. I used my desk noticed to chop a chunk of lumber to suit the width of that house (minus about 3/16″), after which used my miter noticed to chop the size to 30″ (the identical peak because the door). I connected this to the wooden spacer piece behind it utilizing 16-gauge 1.5″ nails.

Once more, IKEA sells filler strips that match all of their cupboards, however since my cupboards are painted a customized colour, I simply used scraps of lumber that I had readily available.
Notice: I used IKEA’s Veddinge cupboard doorways and drawer fronts, that are 5/8″ thick. To ensure that my spacer strip to be the identical, I ran this board (normal 1″ lumber, which after all, is simply 3/4″ thick in actuality) via my planer to shave off that further 1/8″ of thickness in order that it might match the thickness of the Veddinge doorways. Should you don’t have entry to a planer, and your doorways are additionally 5/8″ thick (relying on the fashion you select), you would possibly need to transfer the primary spacer strip again about 1/8″ in order that the entrance completed spacer board gained’t look thicker than the doorways. Or you’ll be able to keep away from that problem through the use of IKEA’s matching filler strips.
And eventually, I caulked the little house between that filler strip and the wall, wooden stuffed and sanded the nail holes, after which primed, painted, and clear coated the spacer to match the cupboards.

After which I repeat that entire course of on the opposite finish of the cupboards. And with that, the cupboards have been fully put in and completed.
This was a fairly straightforward and simple course of since this was a financial institution of cupboards that stretched from one aspect wall to a different.
It’s a way more difficult course of when you will have a whole aspect of the cupboards fully uncovered, and it’s a must to end off your entire aspect to look completed. That’s the scenario I’ll be coping with on the opposite part of cupboards, so I’ll share that course of quickly.
Notice: This submit was only a recap of the set up course of. However if you’d like extra details about how I trimmed, painted, and accented my IKEA Sektion cupboards with the Veddinge doorways and drawer fronts, or how I constructed my 20-foot-long countertop, you’ll be able to examine these tasks by clicking the titles beneath:

Addicted 2 Adorning is the place I share my DIY and adorning journey as I rework and adorn the 1948 fixer higher that my husband, Matt, and I purchased in 2013. Matt has M.S. and is unable to do bodily work, so I do the vast majority of the work on the home on my own. You may be taught extra about me right here.
