

*This submit incorporates affiliate hyperlinks.
A few months in the past, I bought a brand new espresso desk for the lounge. I made a decision to get a brand new one after I rearranged the furnishings to its present structure and realized that the sting grain plywood herringbone espresso desk that I had made was manner too skinny with the furnishings organized within the new manner. (It’ll make an look in one other spot, although.)
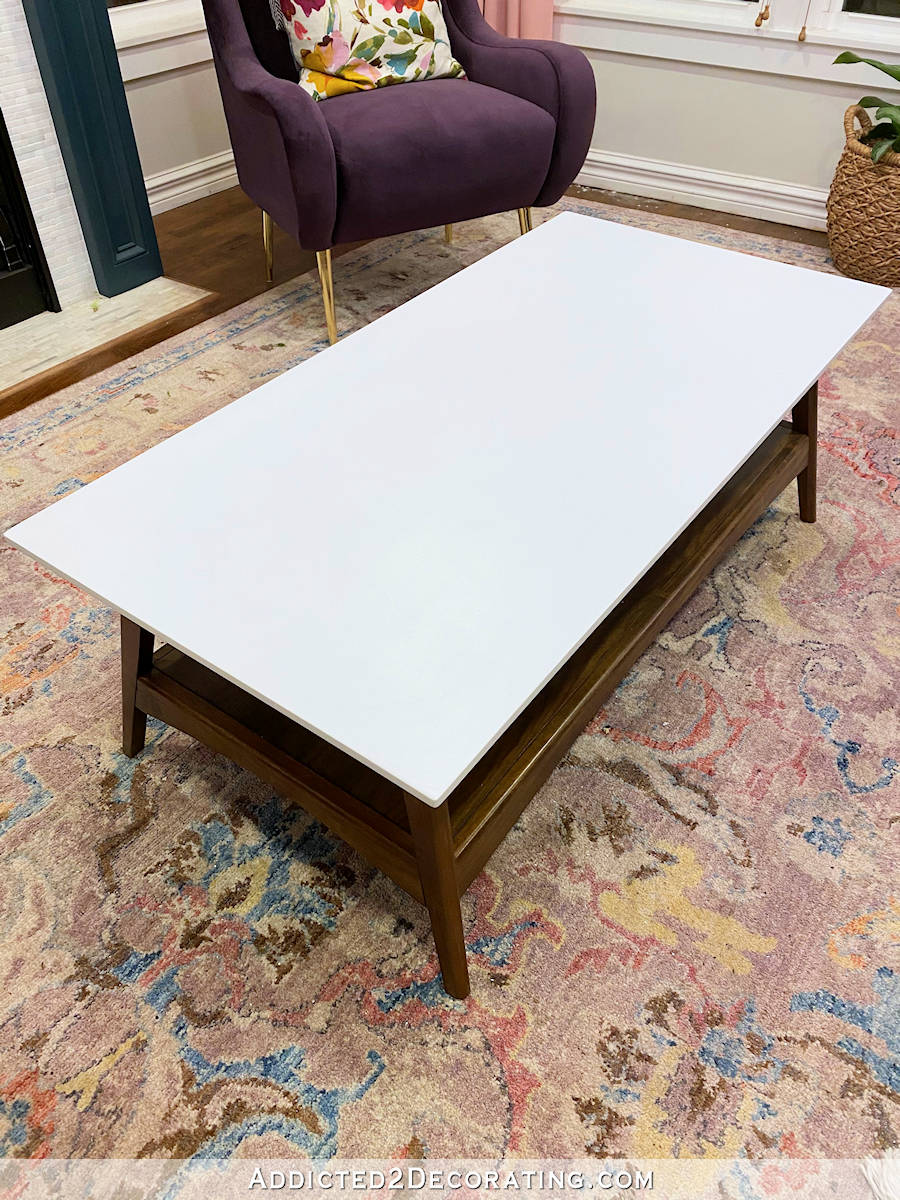
So after taking a look at in all probability a whole bunch of espresso tables, I stored coming again to this mid-century trendy espresso desk with a stained wooden base and white prime.

The selection was uncharacteristic for me as a result of mid-century trendy usually doesn’t attraction to me, and but that is the one I stored going again to. I discovered it in a number of completely different shops on-line, however I ended up buying it from Amazon, which had the bottom value and free transport.
The desk had persistently excessive rankings with rave critiques, aside from one factor. Virtually each overview talked about that the desk prime is NOT white. It was described as wherever from off-white to a yellowish shade. That made me hesitate and proceed to look.
Someplace alongside the way in which, I made a decision that I’d love a desk with a stone (ideally marble) prime. I got here throughout this very related desk with a marble prime from West Elm, and nearly bought it. I had put in all of my fee data and was able to click on that remaining button to make my buy, and I simply couldn’t do it. I lastly determined that I alter my thoughts manner too simply and infrequently to pay that a lot for a espresso desk. And it was solely 20 inches broad, anyway. I actually needed one thing a minimum of 24 inches broad.
So I ended up going with the primary espresso desk. And positive sufficient, the highest was undoubtedly NOT white. I feel it truly began off white, however the clear coat they used for the highest was undoubtedly not non-yellowing. It simply appeared like an oil-based polyurethane that had yellowed fairly a bit over time.
I had already made up my thoughts that if the end was too yellow, I’d paint it. In order that’s precisely what I did. About three weeks in the past, I sanded the highest down, primed it with Rust-Oleum spray primer, after which sprayed it with Rust-Oleum Painter’s Contact spray paint in white. I’ve been dwelling with it that manner for over two weeks now to see if I favored it, and I lastly determined that it was simply too obviously white.
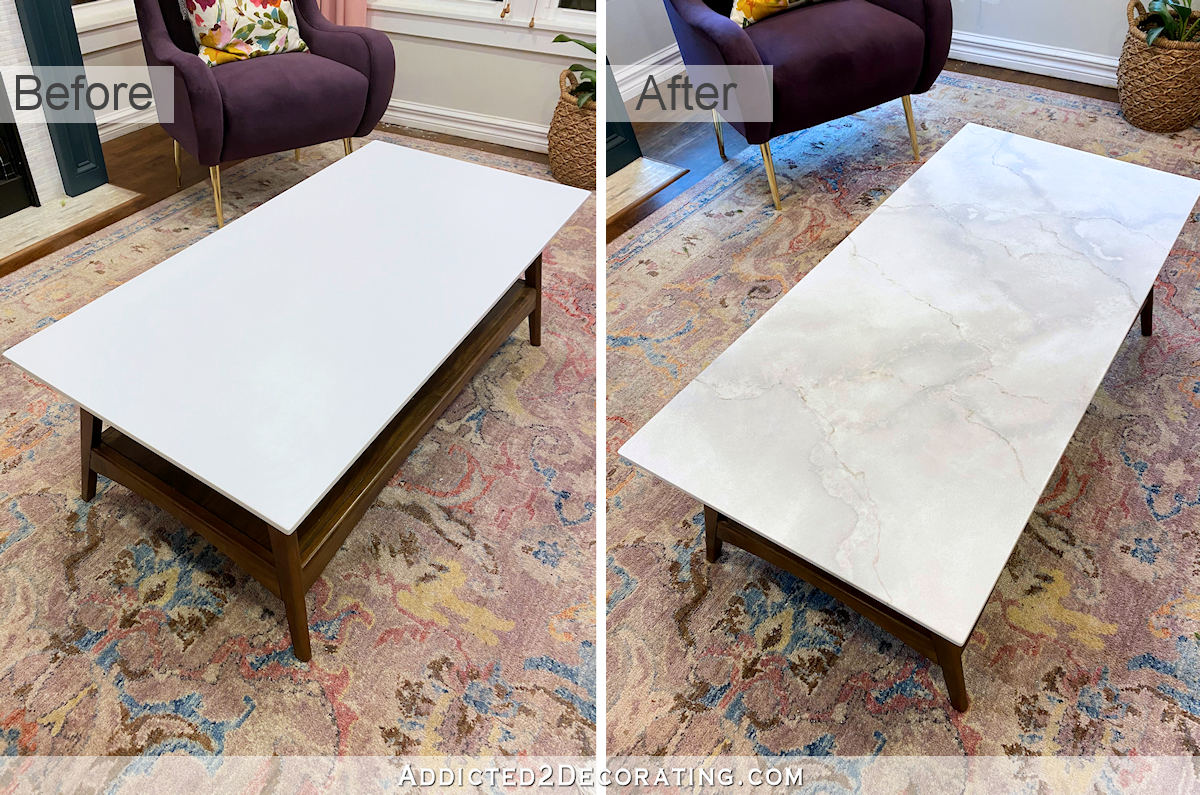
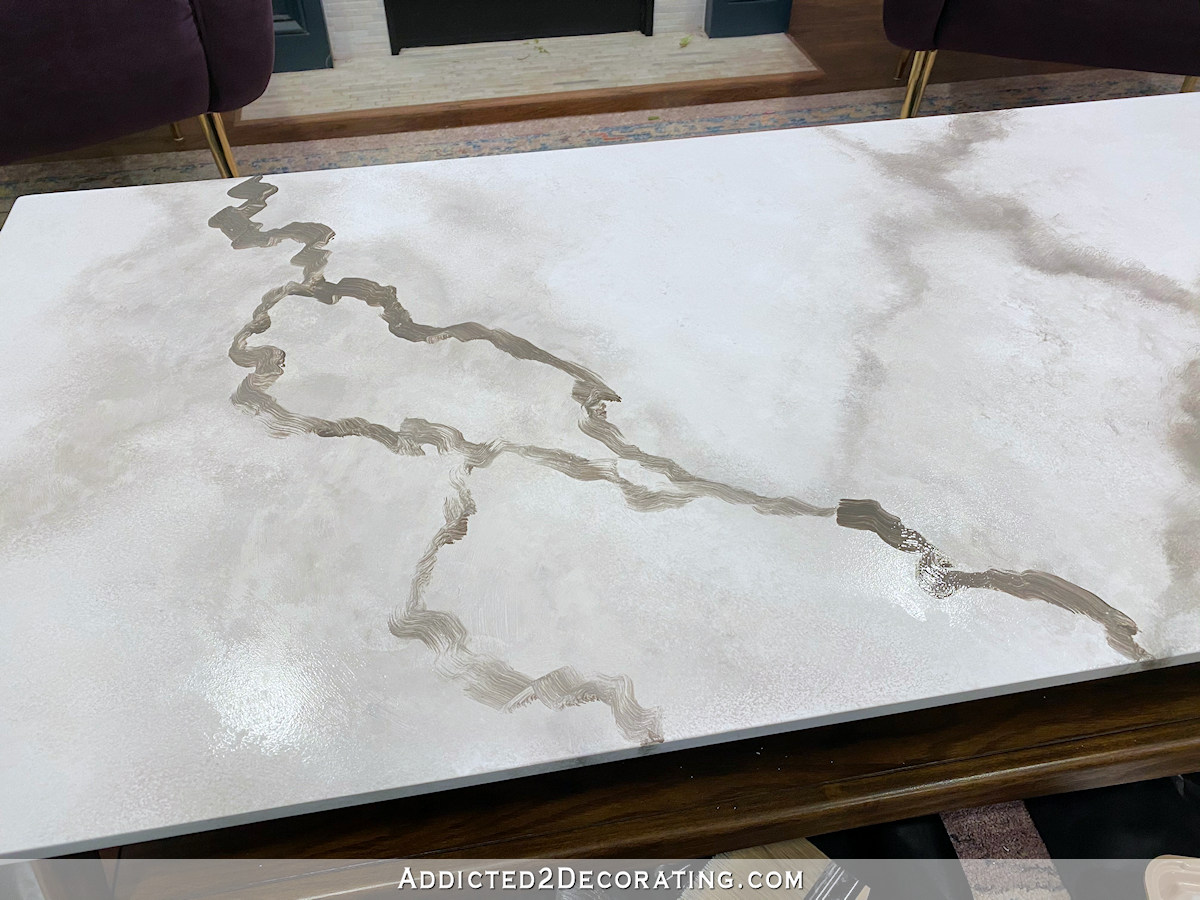
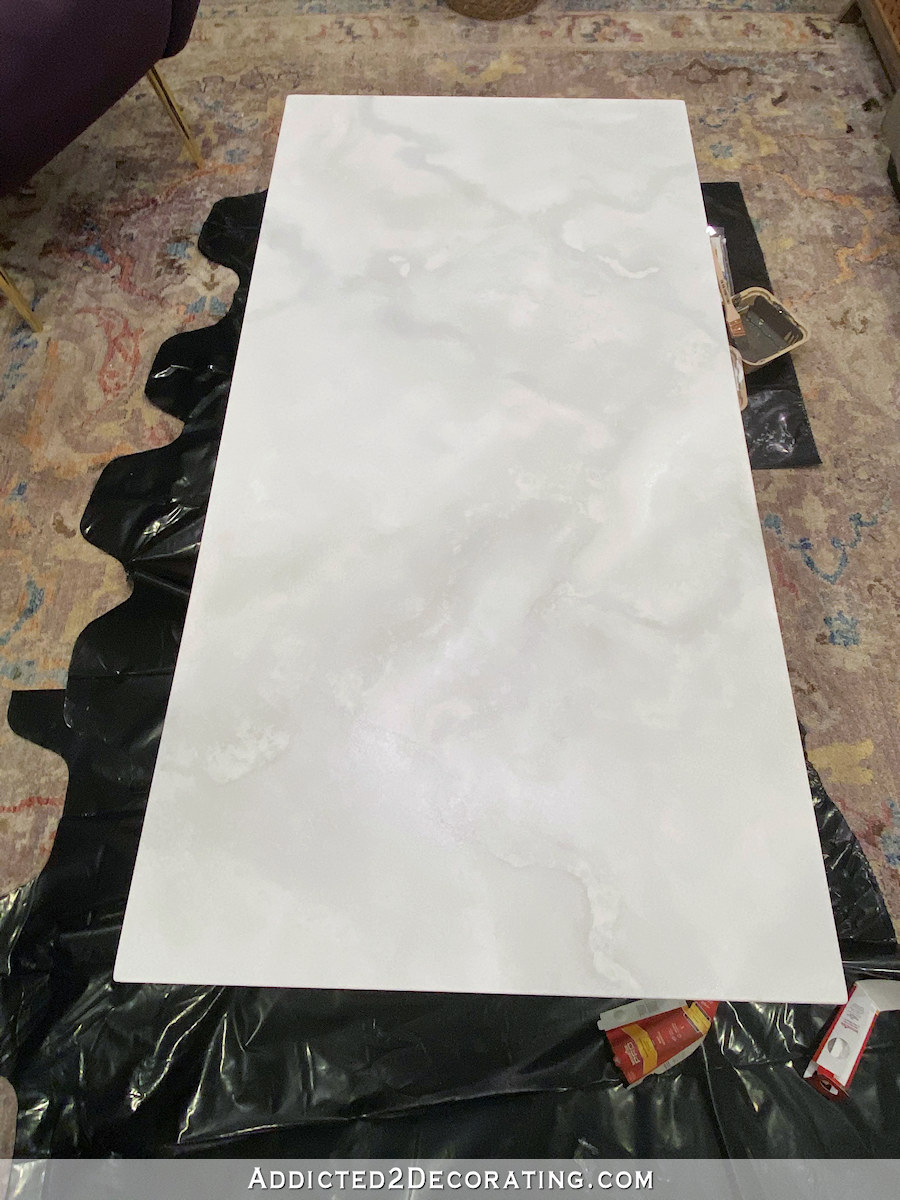
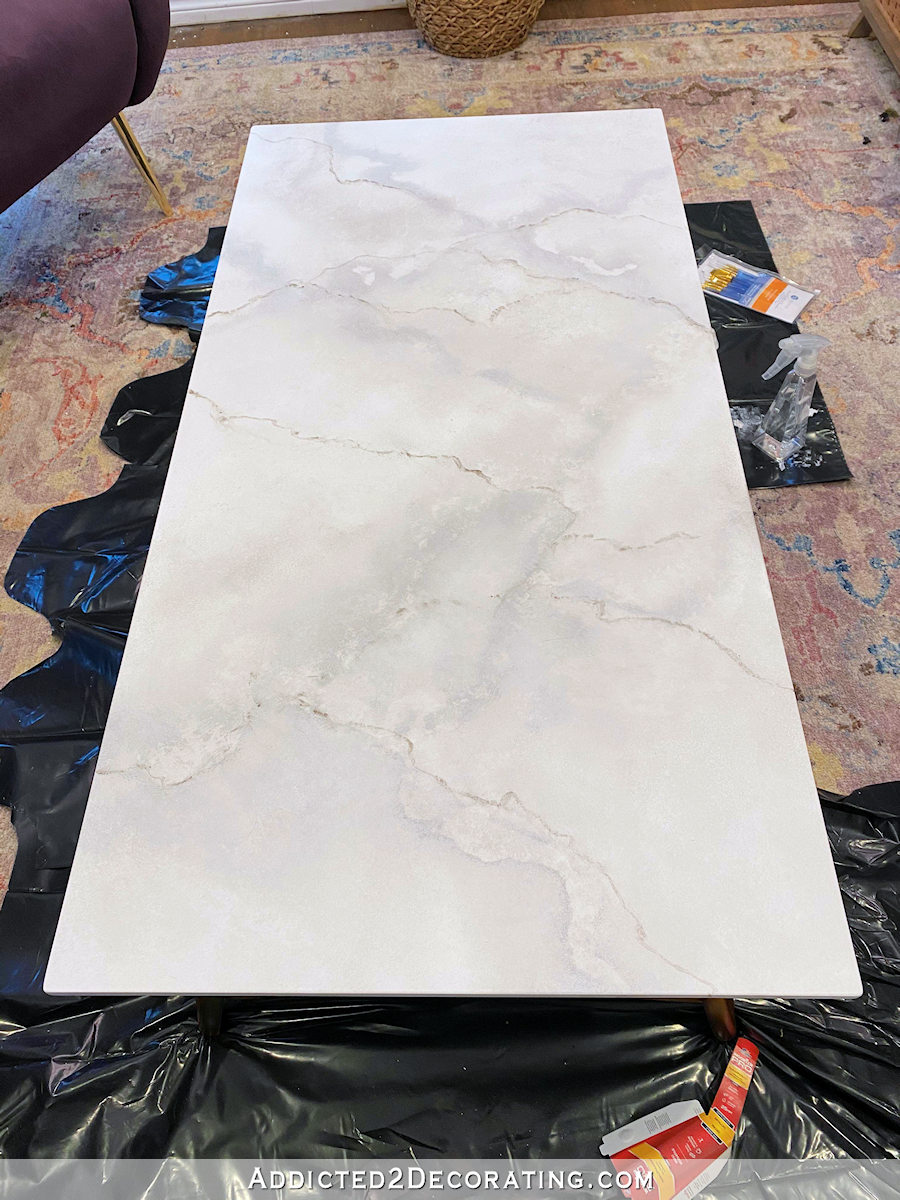
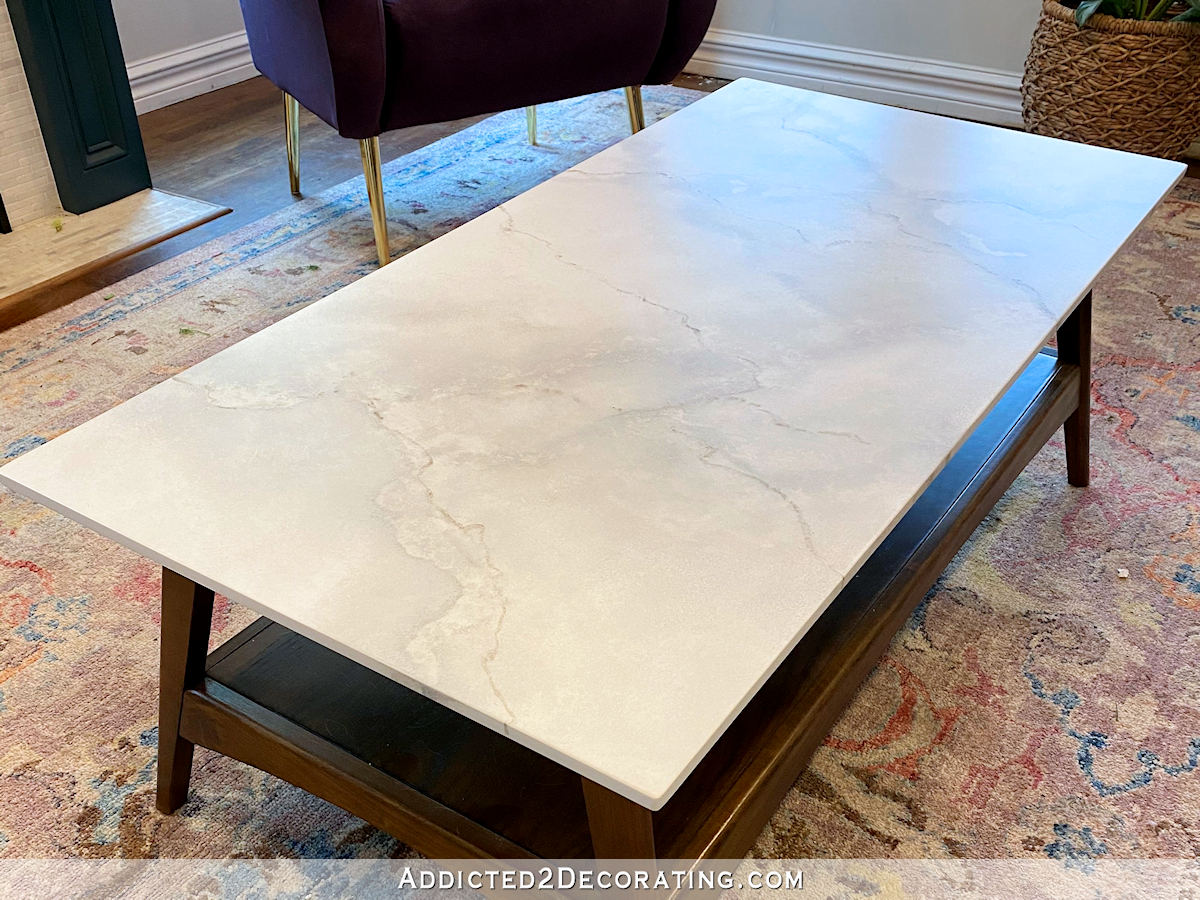
So yesterday, I made a decision to do a pretend marble end on the highest. I didn’t need a busy marble with numerous veins. I simply needed one thing delicate that might give the looks of marble whereas firming down that obvious white desk prime. Right here’s the way it turned out…
(Notice: When you’re studying this submit on any web site aside from Addicted 2 Adorning, which means you’re studying on a website that’s stealing my weblog content material. I hope you’ll think about becoming a member of me on my precise weblog by clicking right here.)
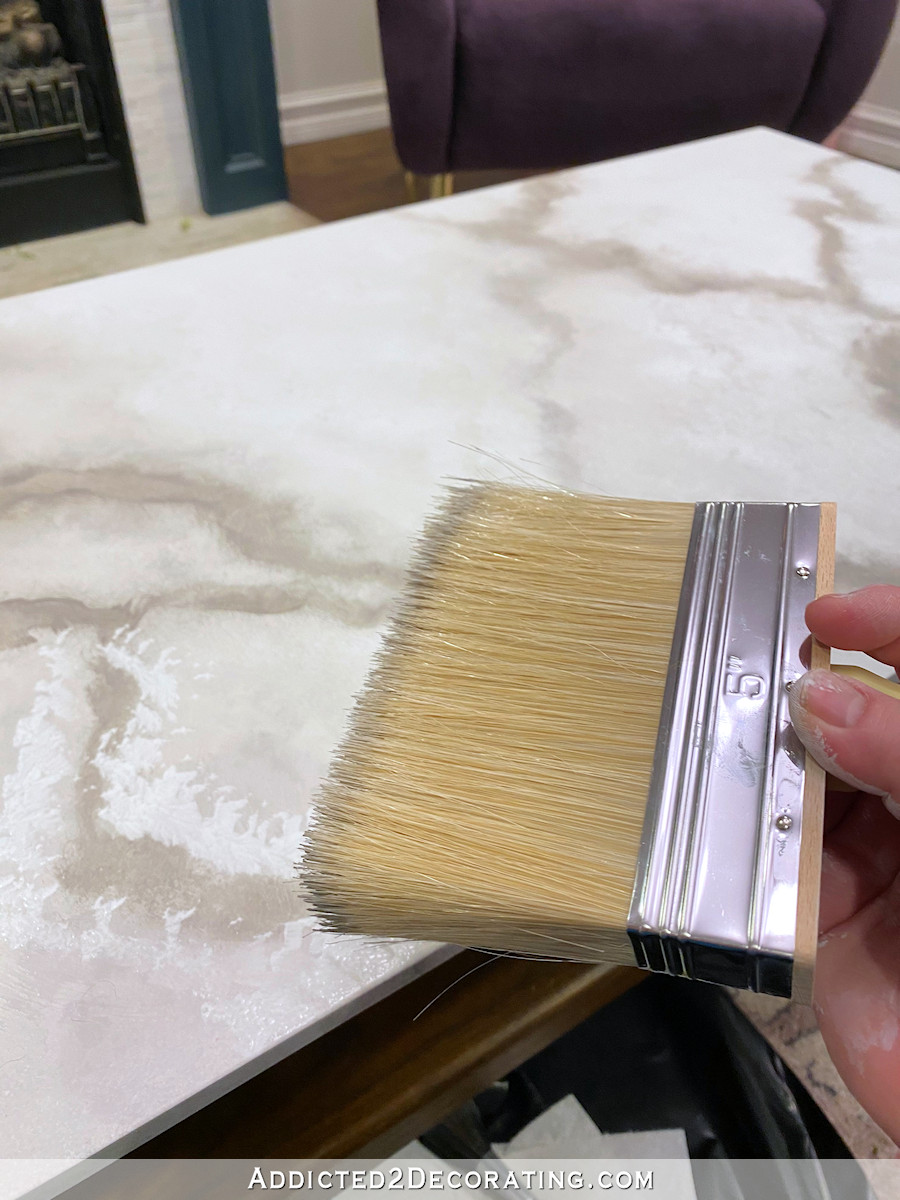
I used paints in two colours — Behr Polar Bear (white) and Behr Mental (grey) each blended about two components paint to 1 half Floetrol, after which with a splash of water added. I additionally used a sponge dampened with water. I couldn’t discover a big sea sponge, so I used a yellow sponge from House Depot (the type discovered within the tile part) and pinched off items and minimize it to offer it a extra pure appear to be a sea sponge. After which I had an assortment of brushes available. I didn’t find yourself utilizing any of the artist brushes within the plastic package deal, however I used all the relaxation — a 1-inch sash brush, a 1.5-inch sash brush, a really massive and smooth watercolor brush (the one that appears like a make-up brush), a big and broad stain brush, and two small spherical artwork brushes.
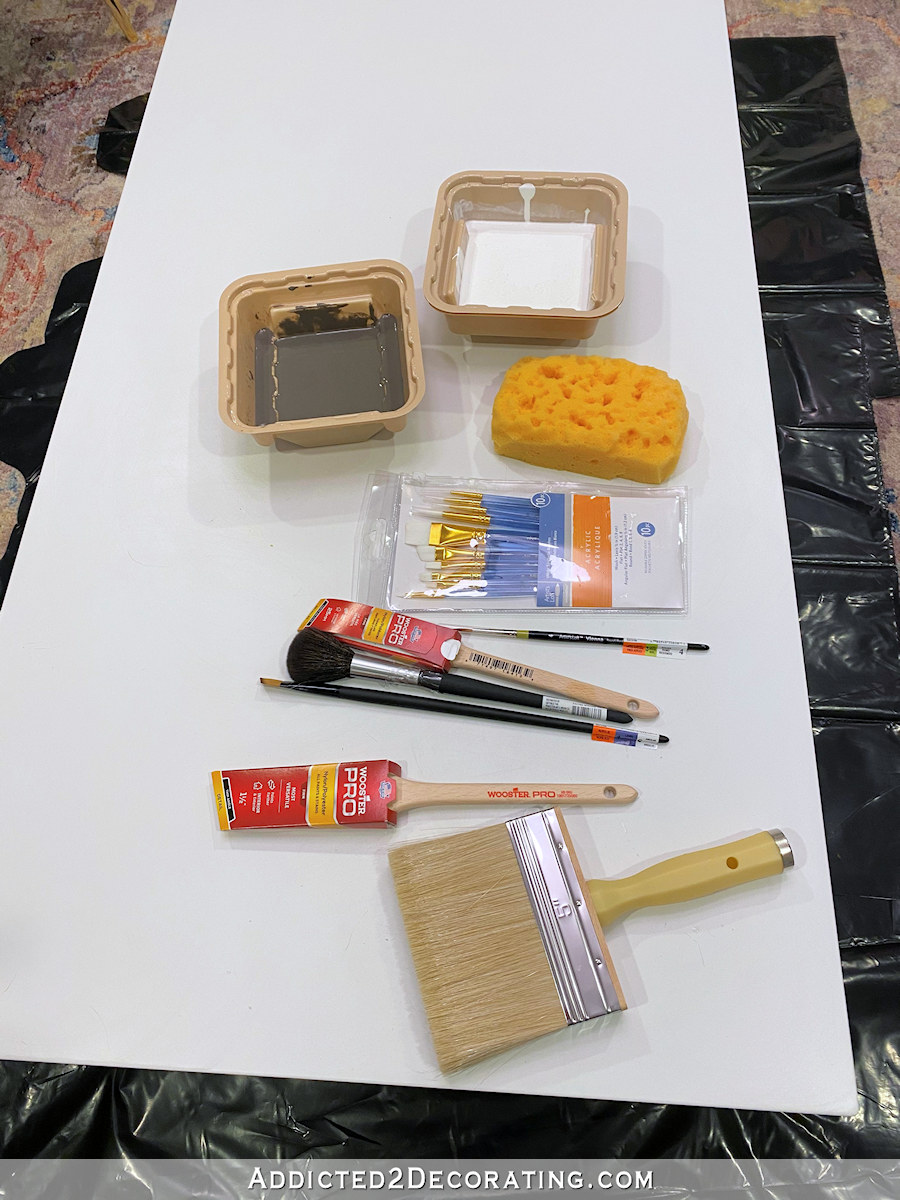
I additionally used a twig bottle with water, and had some paper towels available. With all of my provides collectively, I used to be able to get began.
Step 1: Create a smooth grey and white background.
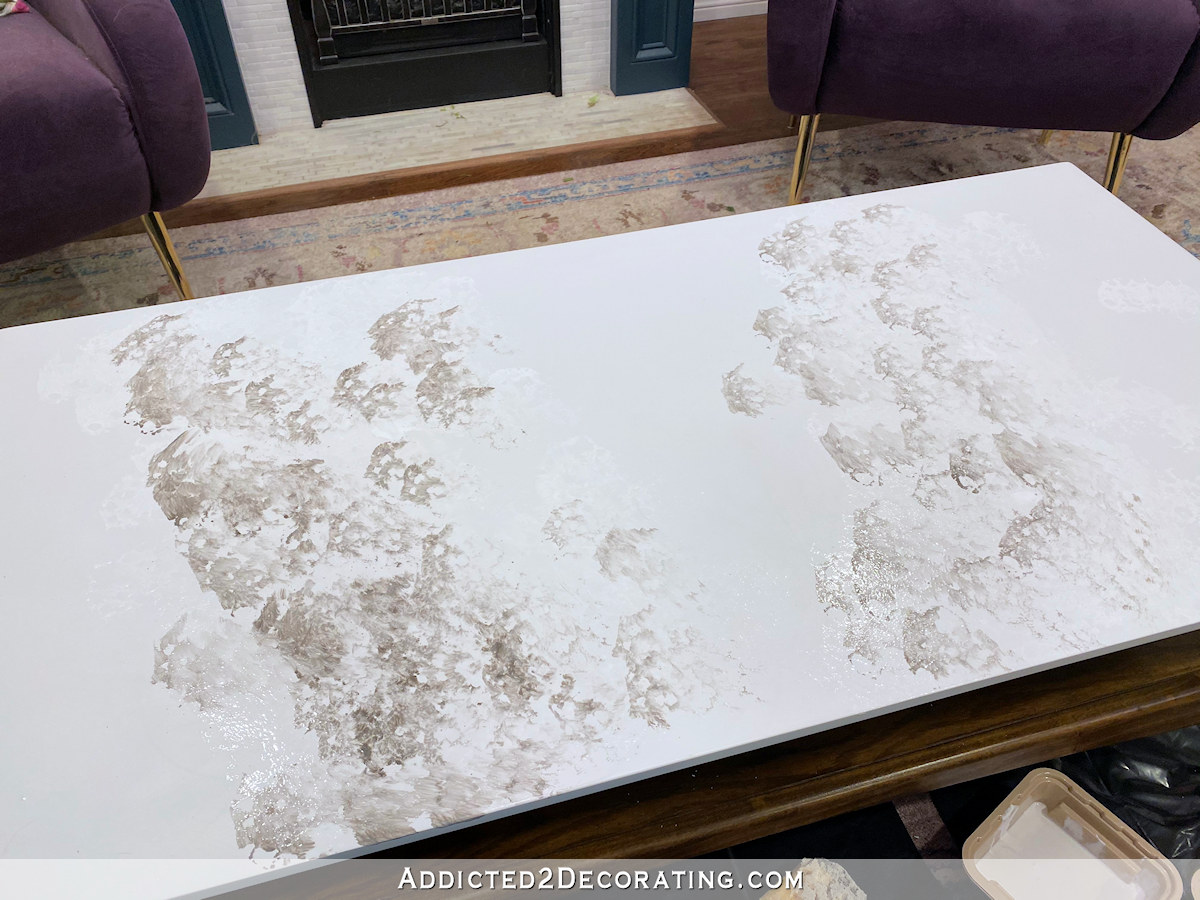
Utilizing the damp sponge, I sponged some white paint on the floor of the desk.

After which I sponged a few of the grey paint into the moist white paint.
After which utilizing the large stain brush…
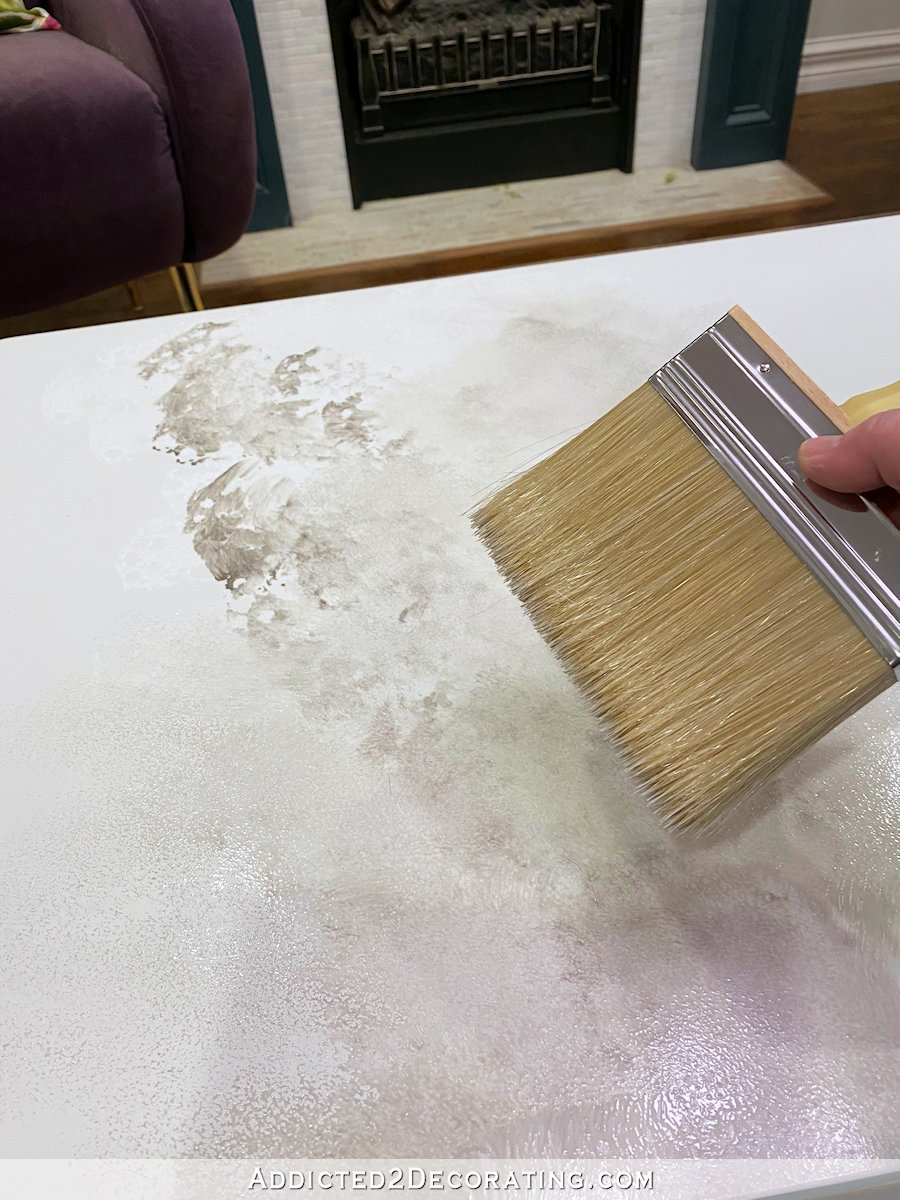
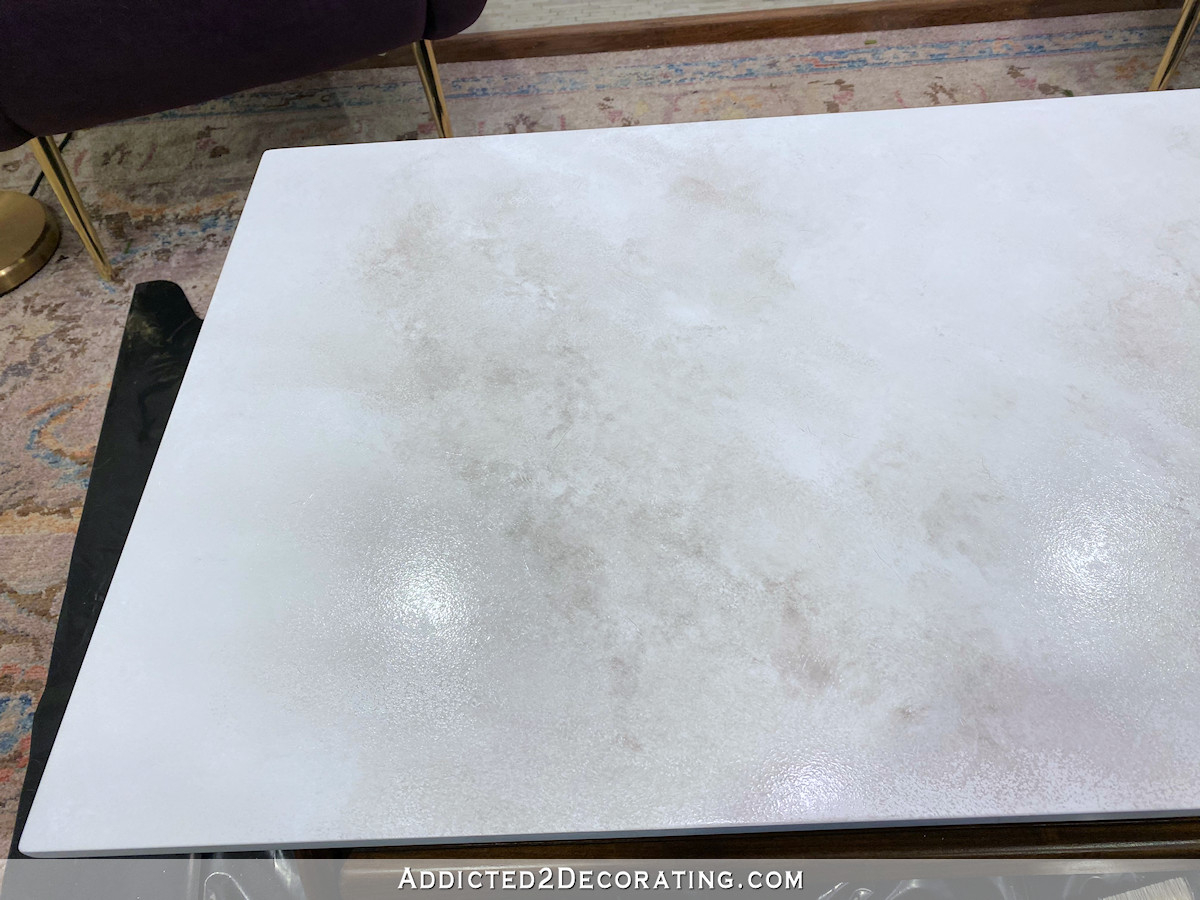
…I pounced and dabbed and brushed and swirled till the 2 colours had blended sufficient to create a smooth background with shade variation.
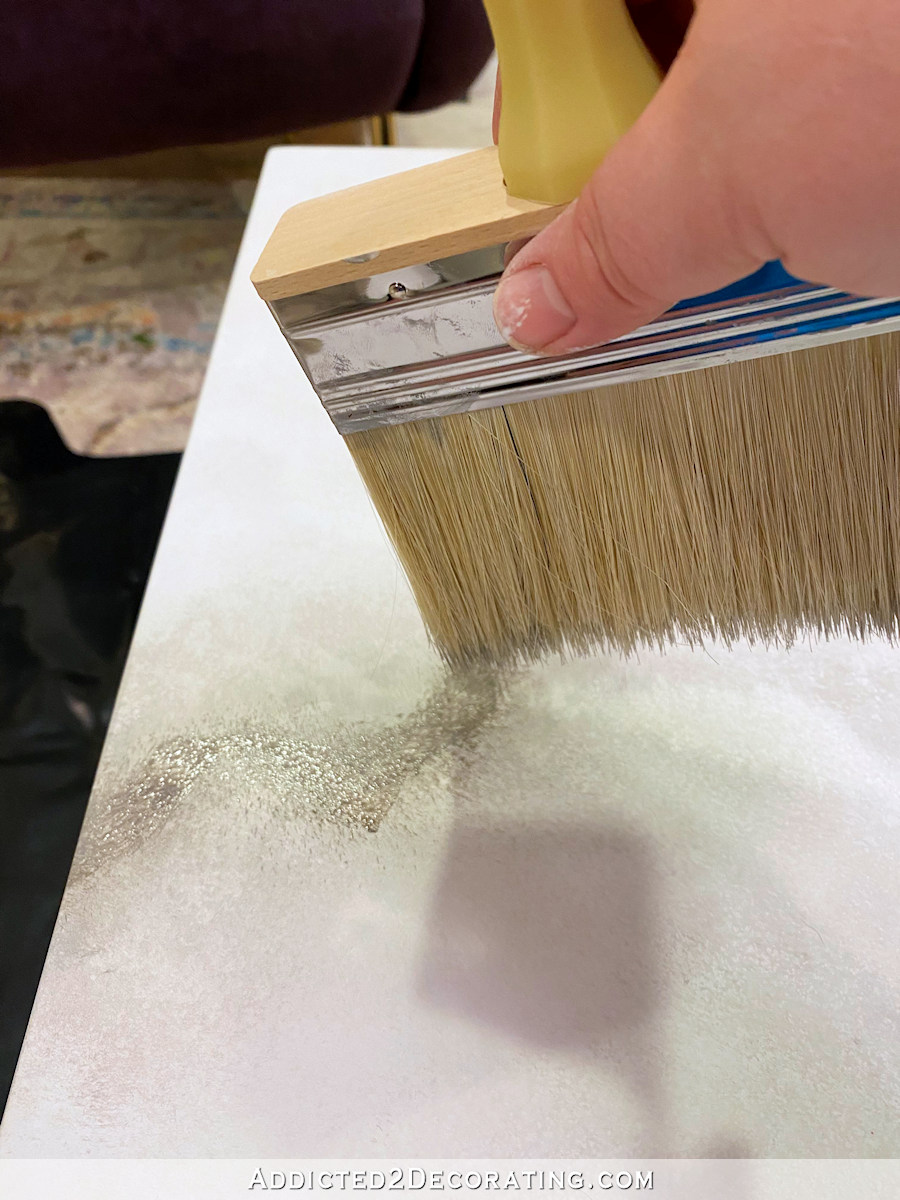
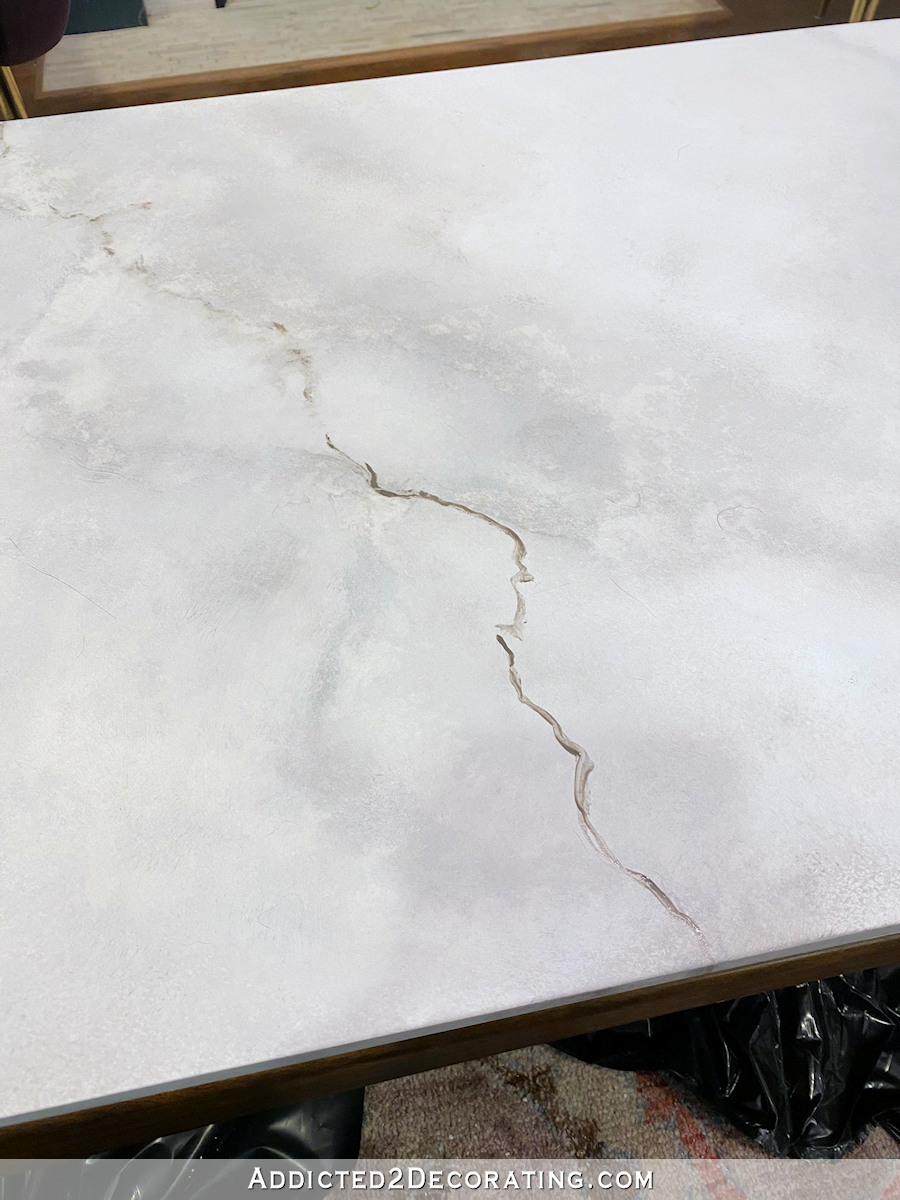
Step 2: Create massive grey veins.
Subsequent, utilizing the 1-inch sash brush, I created some actually massive grey veins. The important thing when creating veins with a brush is to be messy. You don’t need to brush them on, however slightly, fill the comb after which drag, push, and roll the comb as you’re transferring throughout the floor.
As soon as I had the veins in place, I used the large stain brush to melt these veins a bit bit.
I additionally used the massive, smooth watercolor brush to melt the look.
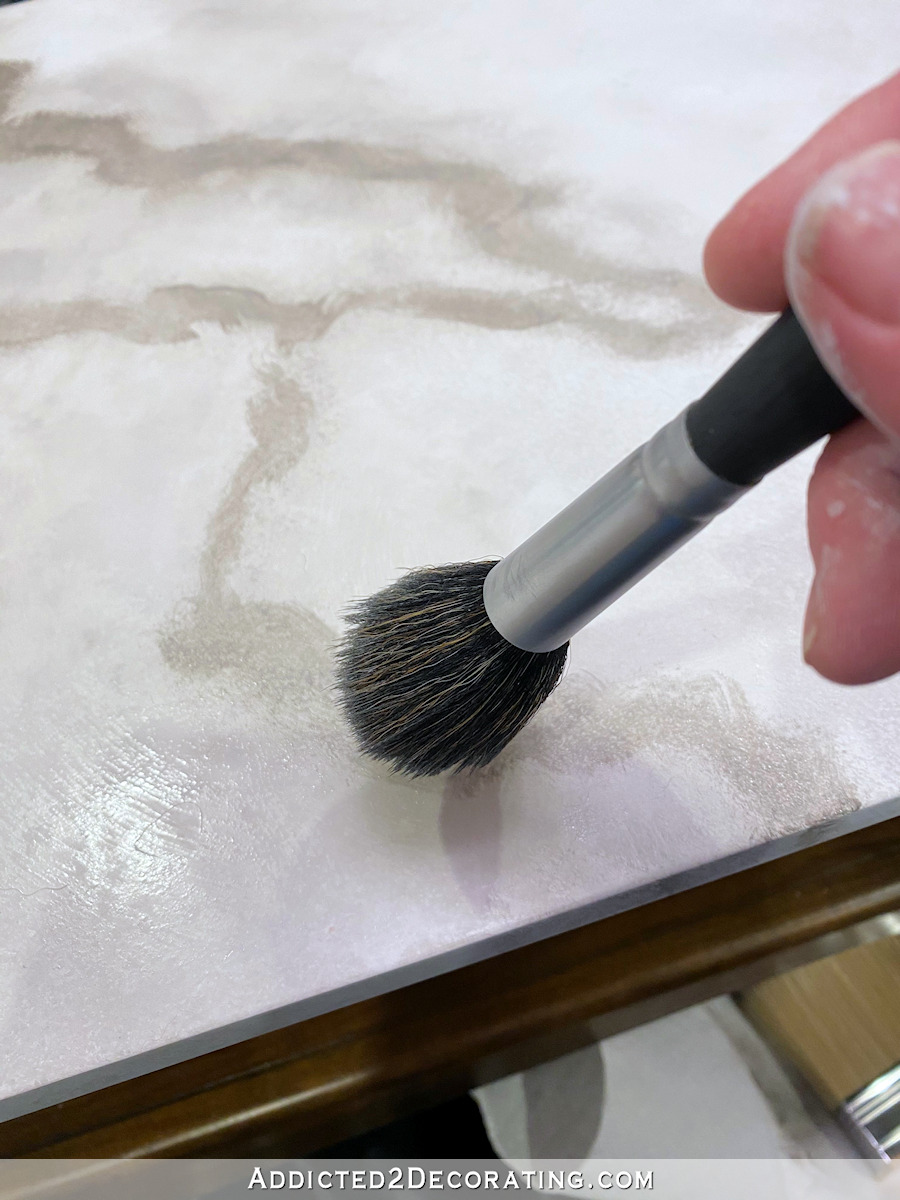
Right here’s the way it appeared with these veins softened with each of these brushes.
After which it was time to bury these veins a bit. Utilizing the sponge, I dabbed white paint on both aspect of the darkish veins…
…after which utilizing the massive stain brush, I started to pounce and swirl till these darkish veins had been buried sufficient to swimsuit my style.
Right here you possibly can see the distinction between the buried vein on the underside, and the remainder of the grey veins that hadn’t been softened and buried with the white paint but.
I stored on doing that till I had these massive, darkish veins buried and softened, they usually appeared like I needed them to look.
Right here you possibly can see the distinction once more with half of the desk executed. The veins within the foreground of this image had been identical to I needed them, however the veins on the far aspect of the desk hadn’t been softened with the white but.

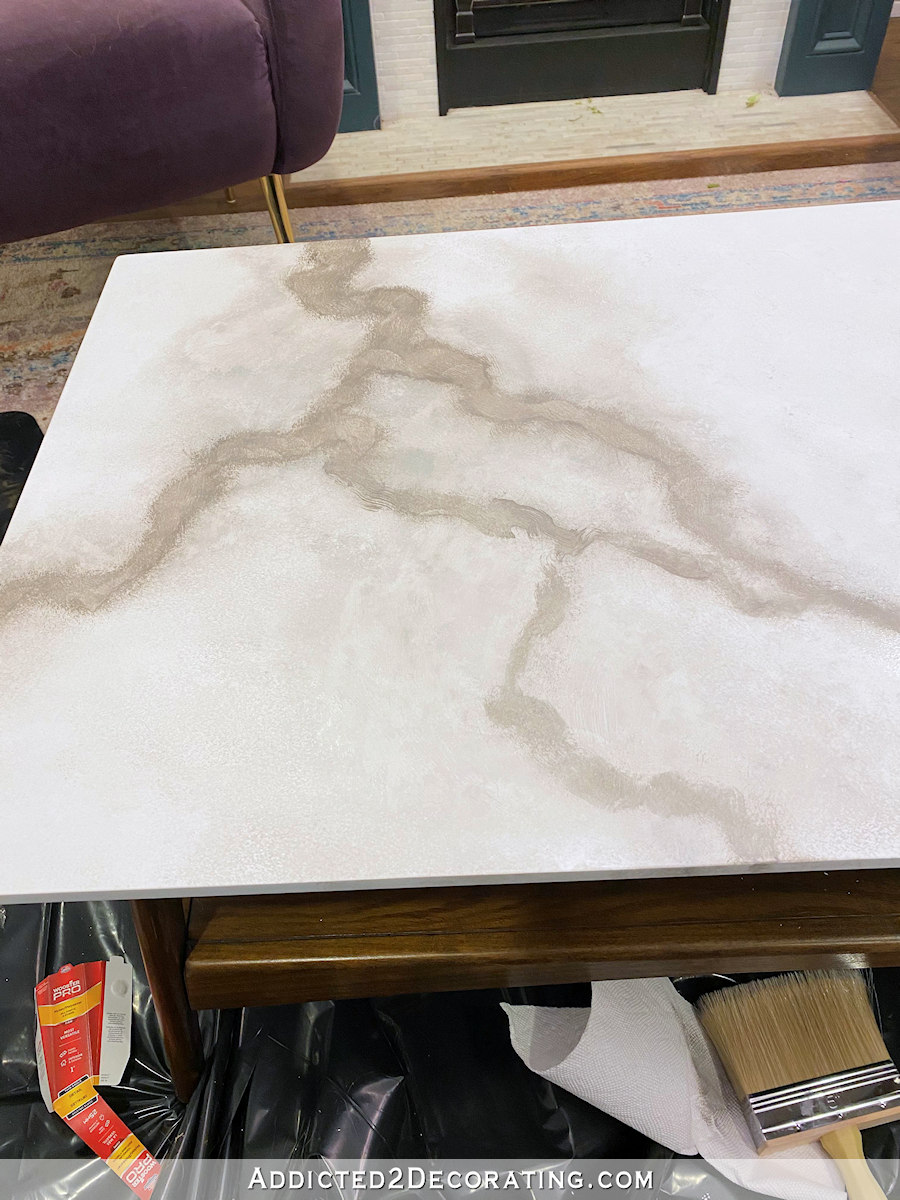
Right here’s how the desk prime taken care of all the large grey veins had been buried and softened to my liking.
Step 3: Add the small darkish veins.
The ultimate step for the marbling was to make use of a small spherical artwork brush for the small, darker veins. Once more, the objective is to be messy and imperfect. To get this look, I loaded up the comb with the grey paint, after which dragged it throughout the floor as I pushed, pulled, and rolled the comb alongside.
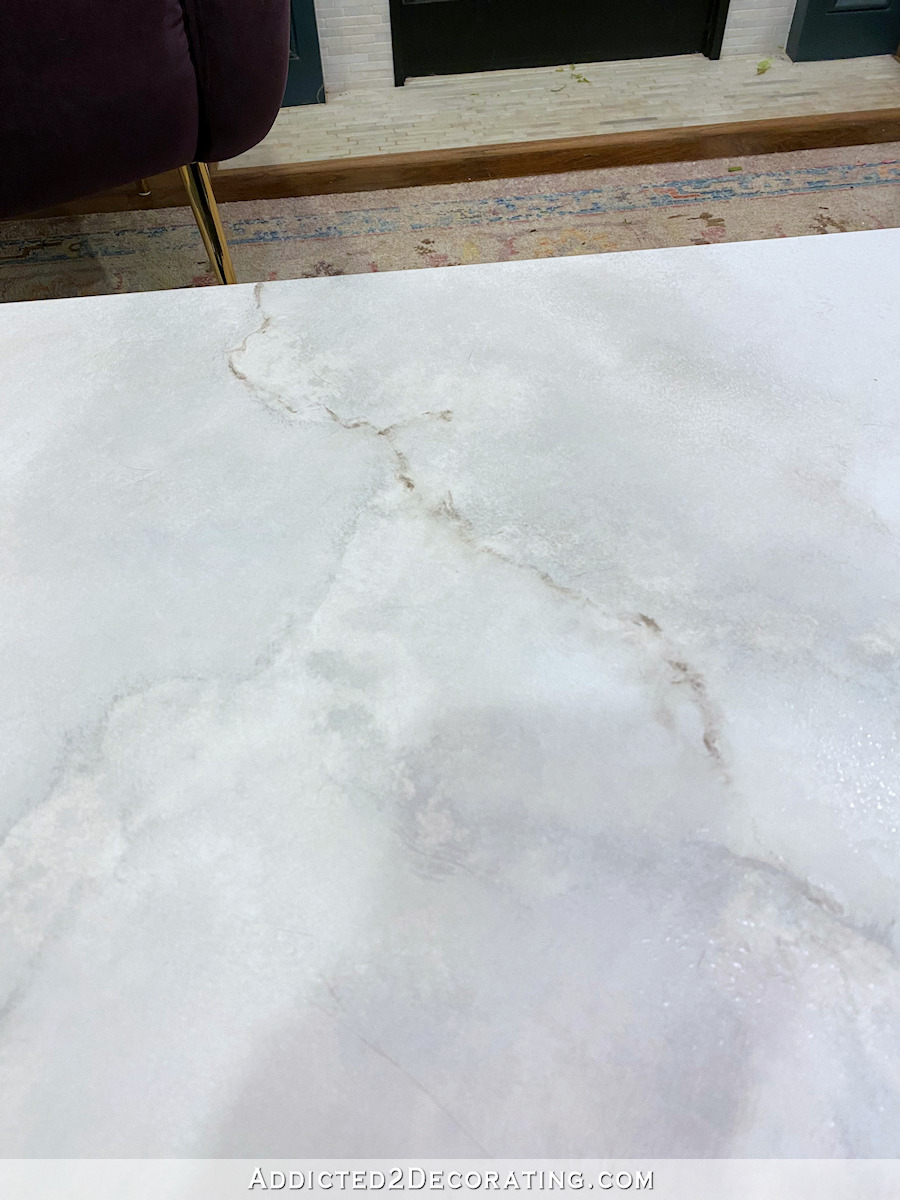
The underside half of this skinny vein is what it appeared like proper after I had painted it on…
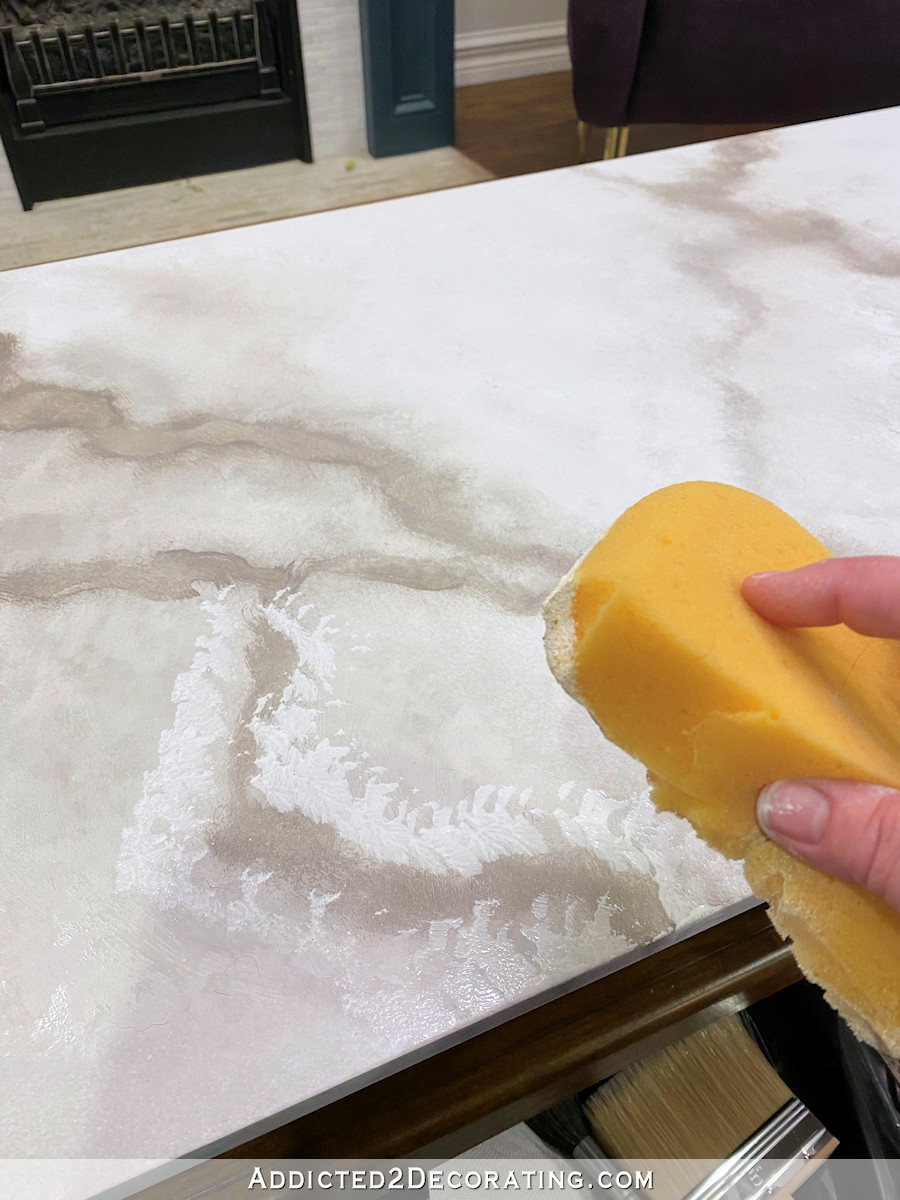
After which I used a twig bottle full of water to softly spray excessive of that vein.
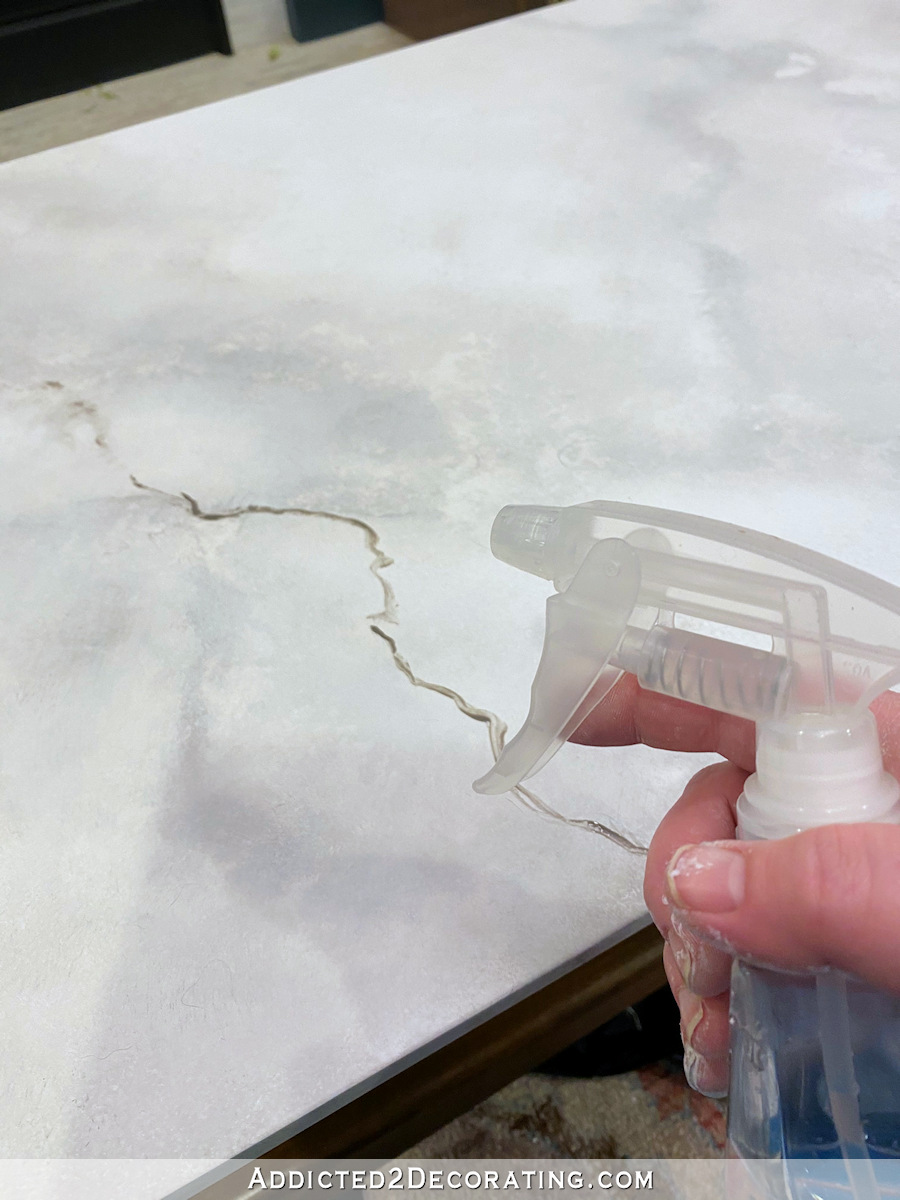
The water alone did an amazing deal to melt and break up these strains (since you don’t need good strains), however there have been areas that I pounced on just a bit with the 1-inch brush (which I had totally cleaned) to interrupt up the paint a bit extra to offer it a extra pure look.
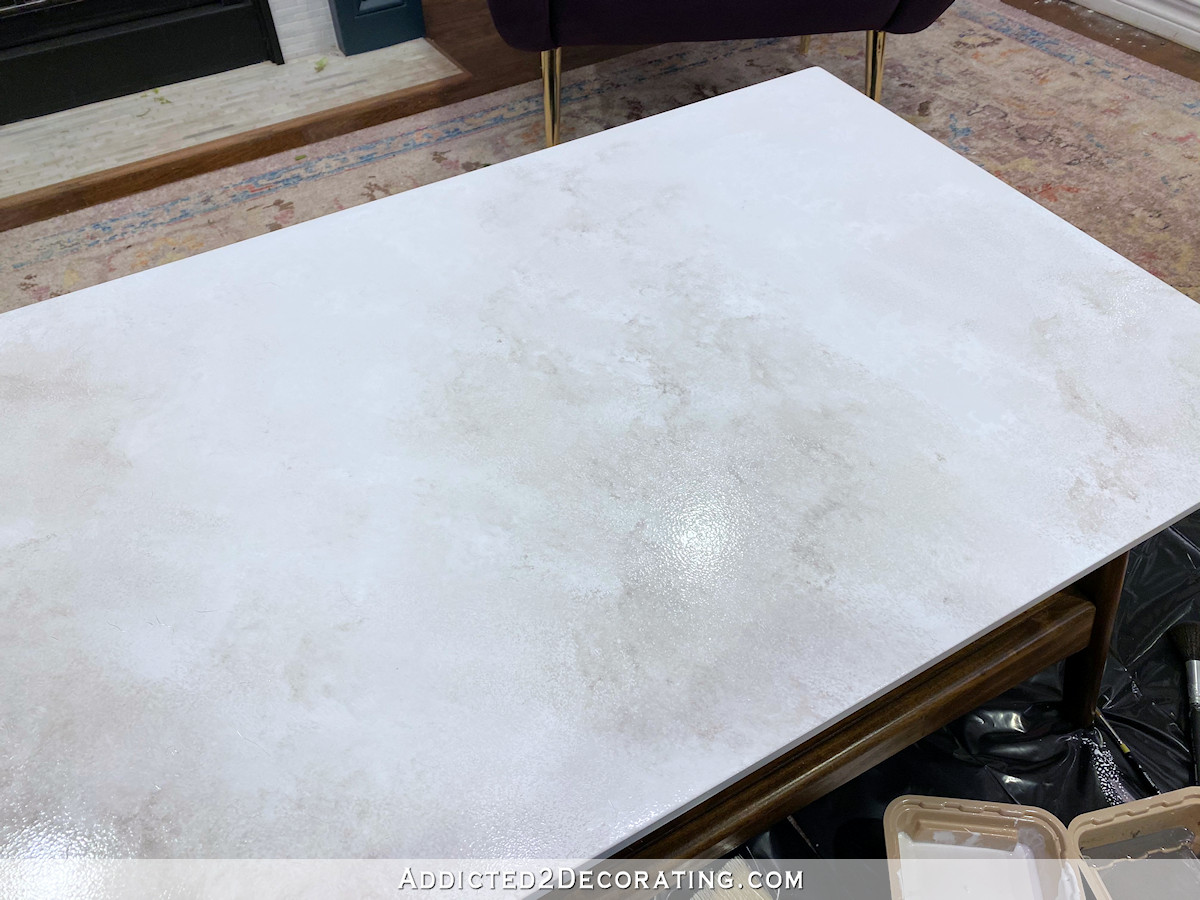
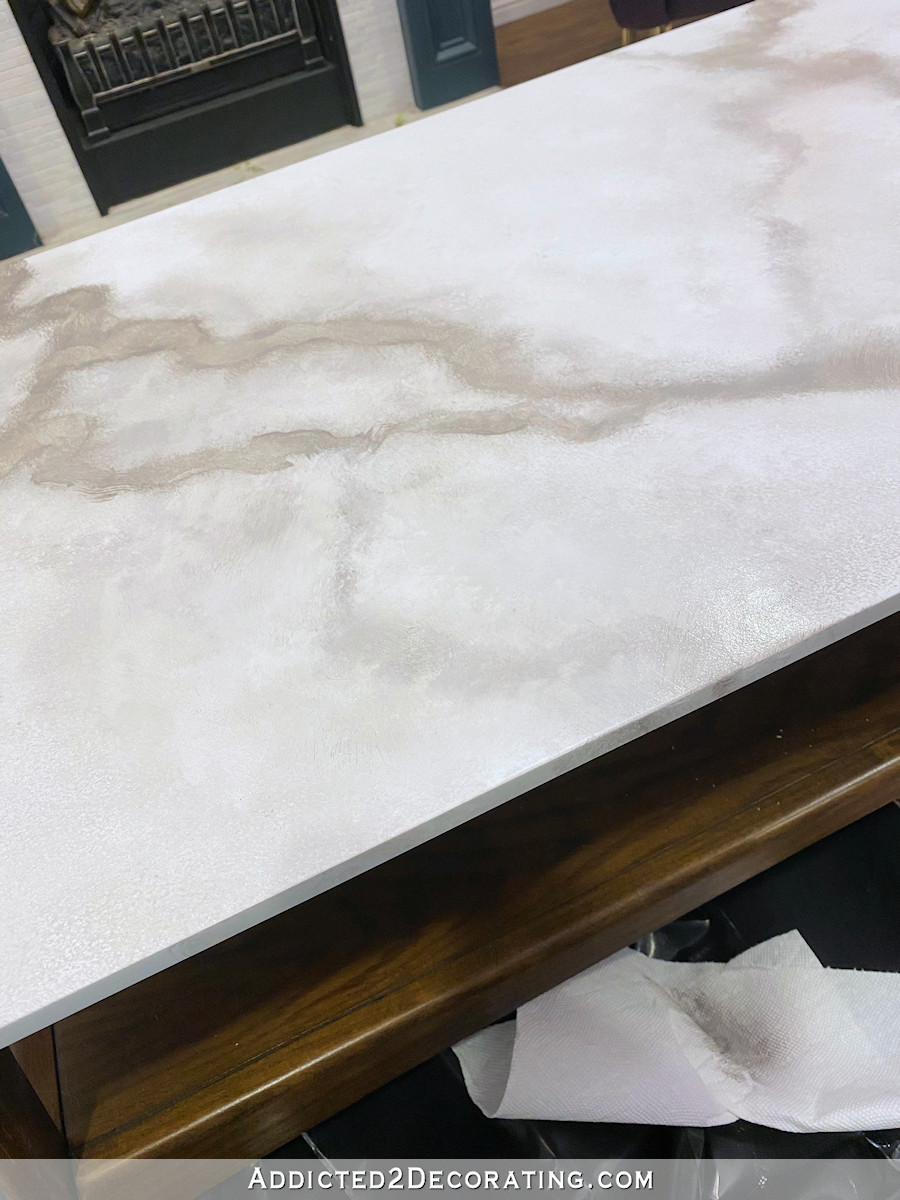
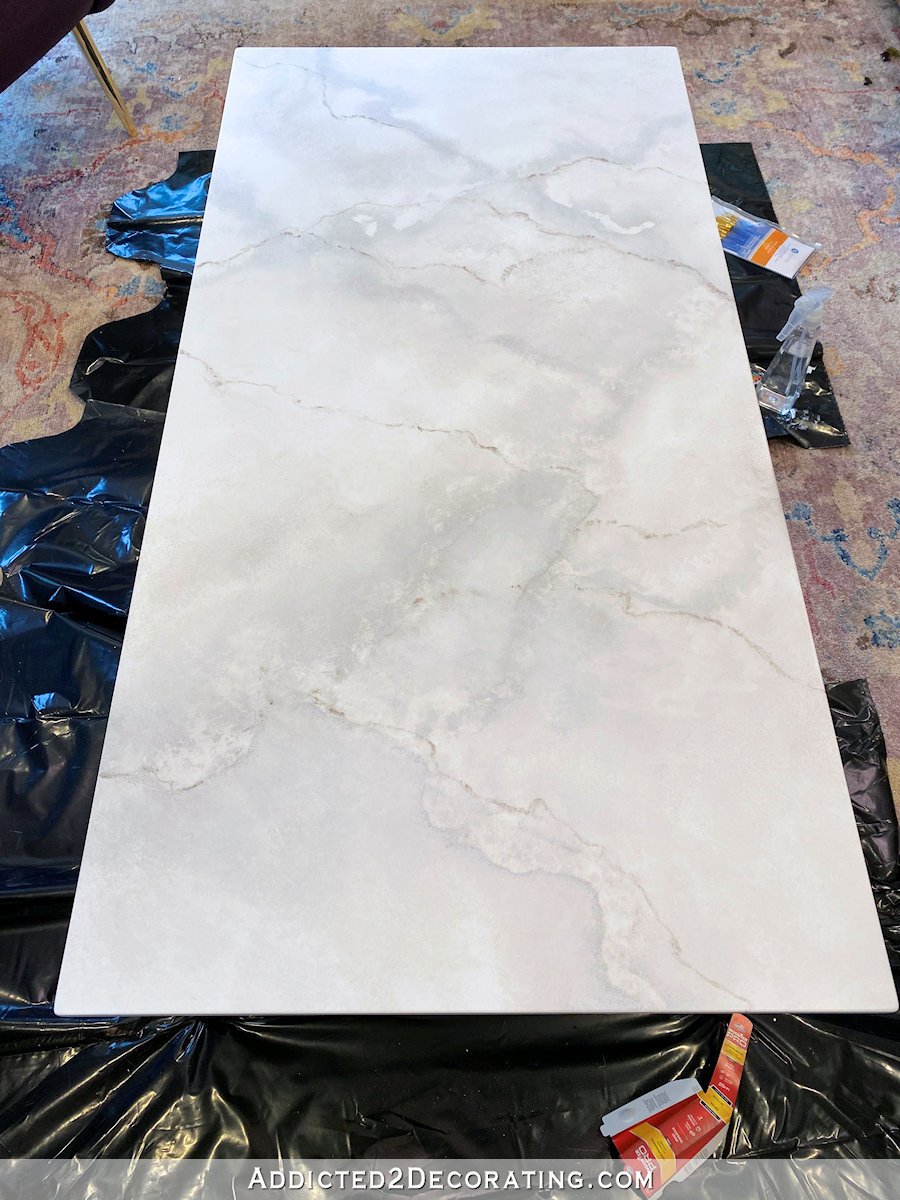
And naturally, you are able to do as a lot or as little veining as you need. I made a decision to maintain it mild on the veining, so I finished when it appeared like this…
Step 4: Clear coat the highest.
As soon as all the things was dry, I sanded the highest very calmly with 22o-grit sandpaper simply to make certain there weren’t any paint ridges wherever. After wiping away all the mud, I used my absolute favourite clear prime coat — Common Finishes Excessive Efficiency High Coat in a flat end.
I rolled on the topcoat utilizing a 6-inch curler and a 1/4-inch nap curler cowl labeled for clean surfaces. I did two coats, sanding calmly with 220-grit sandpaper between coats.
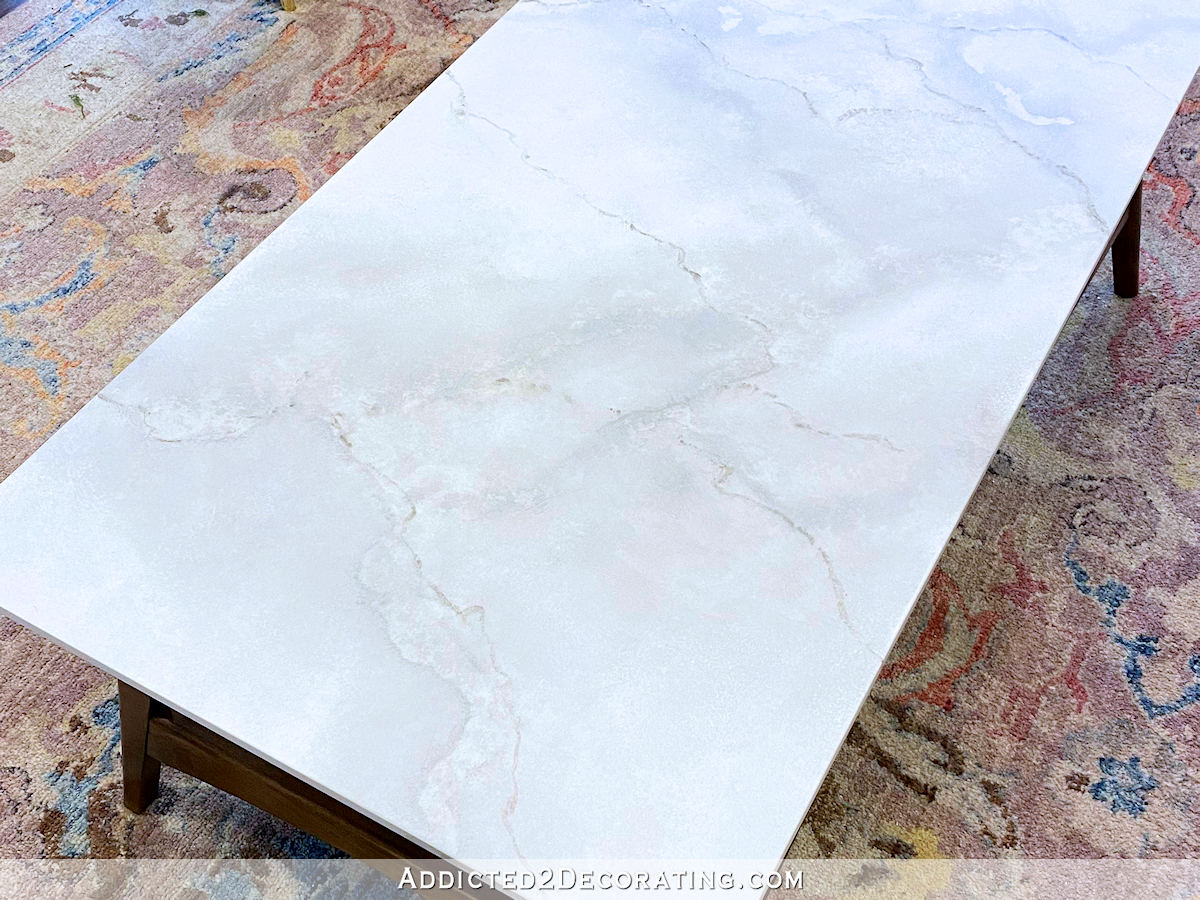
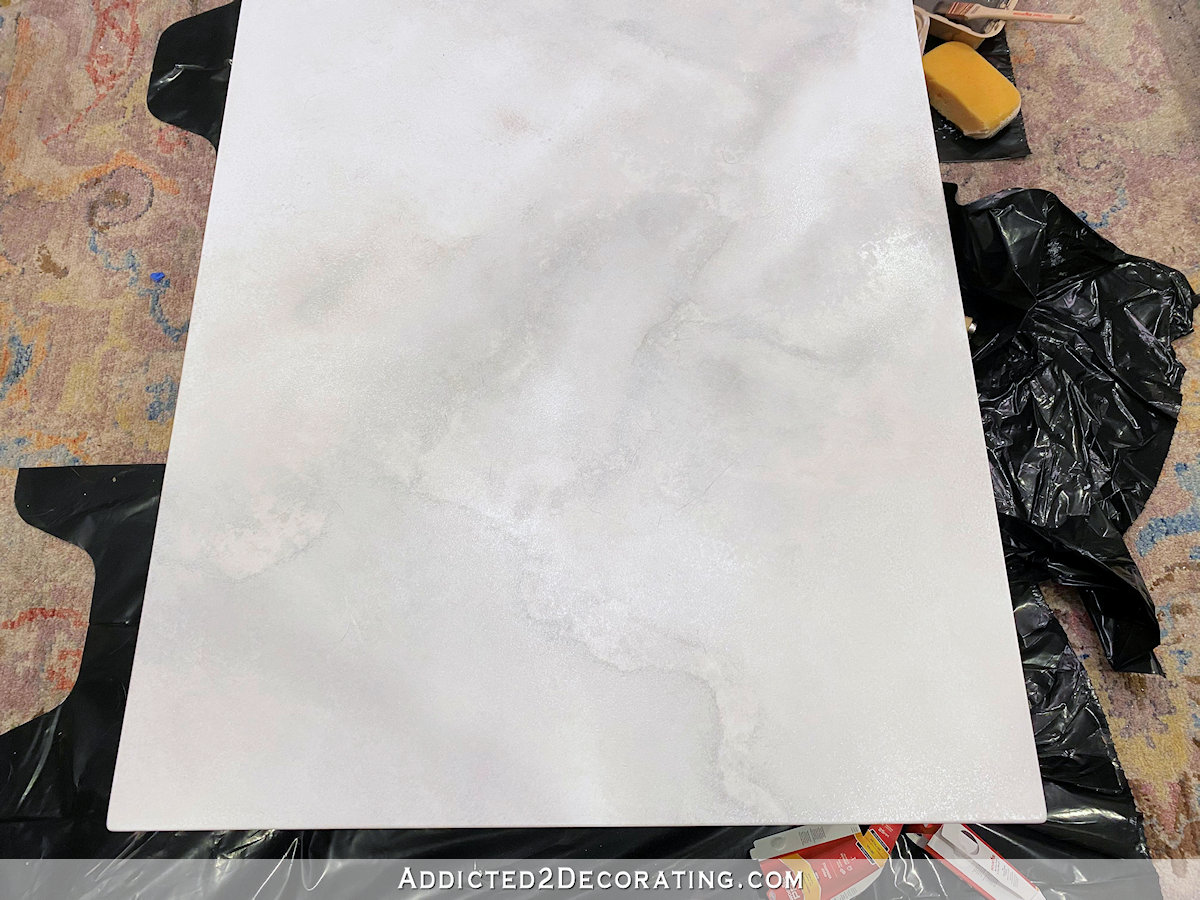
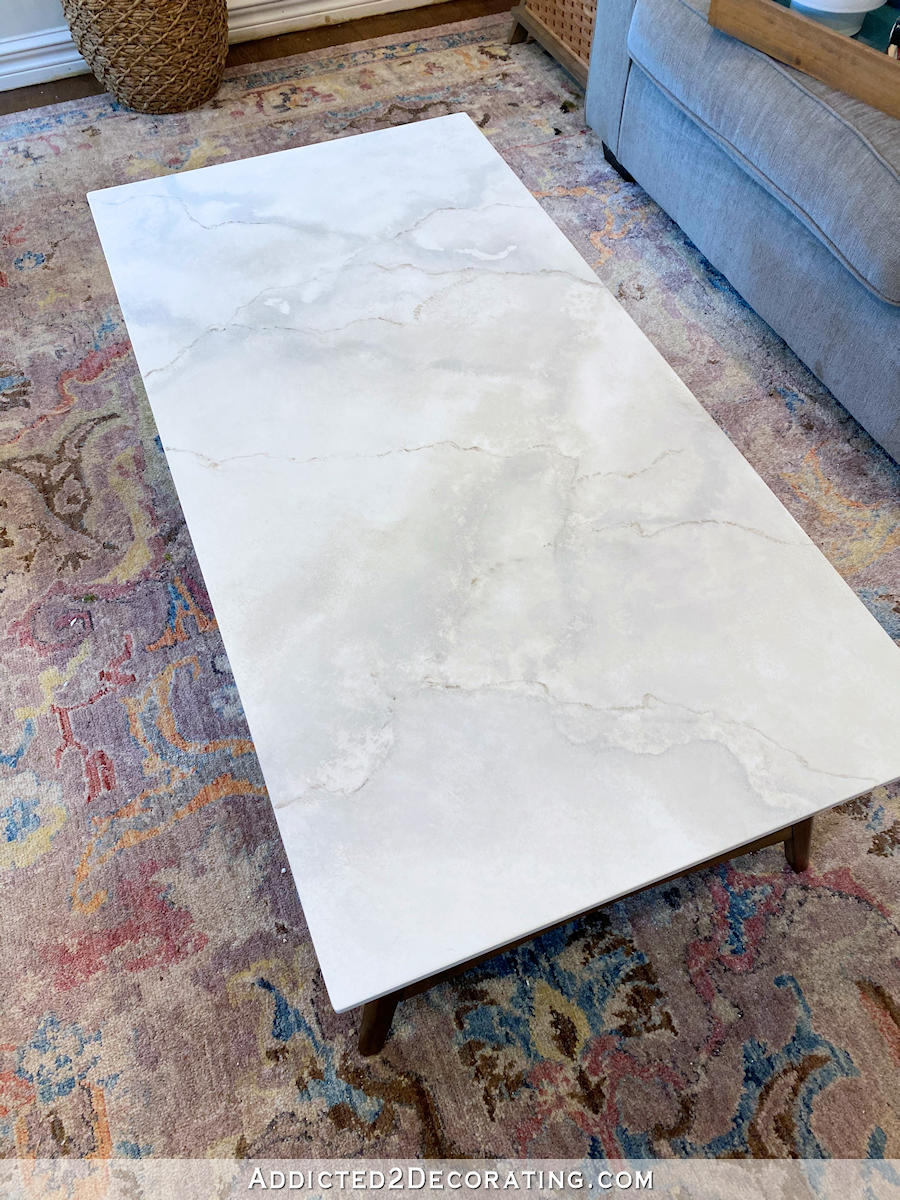
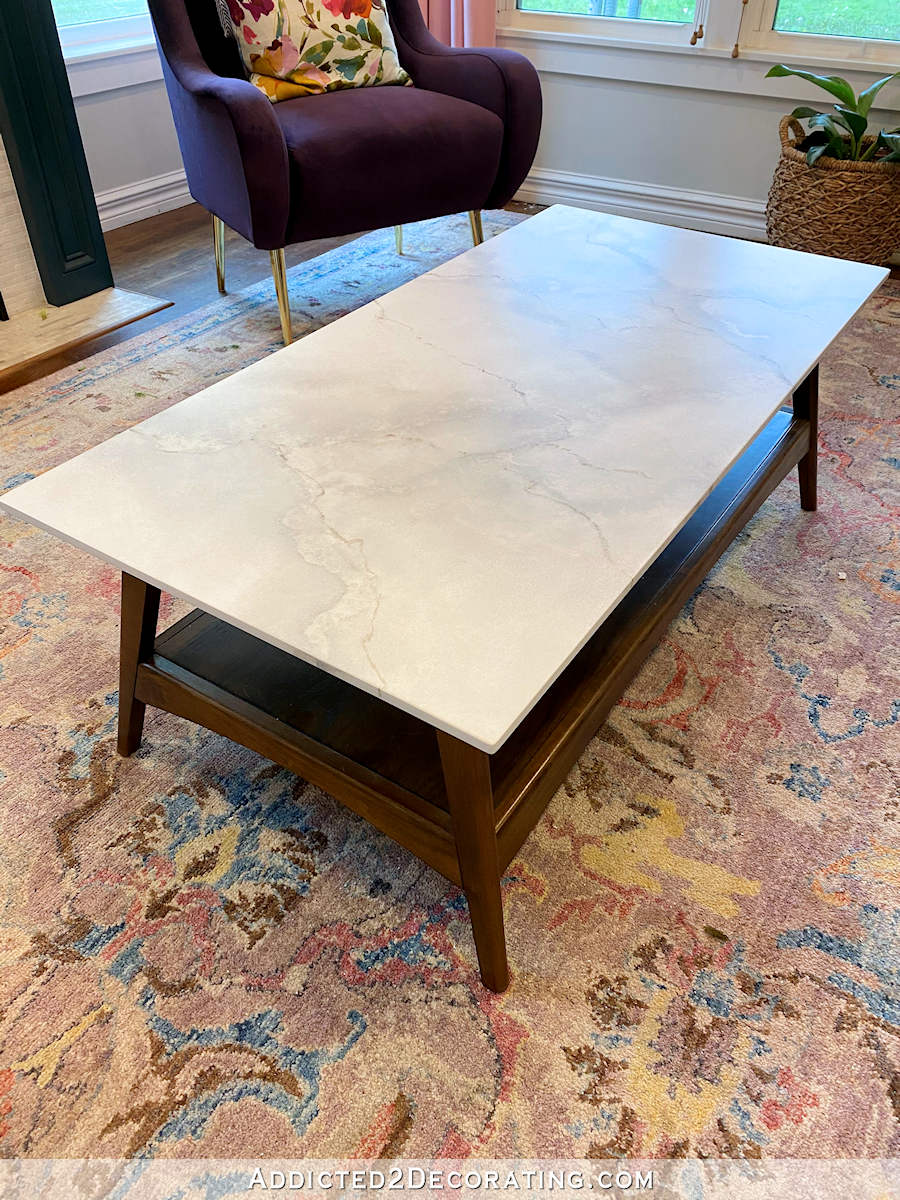
And right here’s the completed desk!
One factor that I realized whereas wanting by means of photos of marble on-line is that you may’t actually mess up marble. There are such a lot of variations on the market! I got here throughout a number of photos that I believed for positive weren’t actual marble as a result of they didn’t appear to be actual marble to me. However they had been! I couldn’t imagine it. A few of them simply didn’t appear to be actual marble in any respect to me. All of that to say that it’s fairly exhausting to mess up and do one thing that doesn’t “appear to be” actual marble.
The problem is getting it to appear to be an actual marble that I truly like, as a result of I generally is a little choosy. ? Luckily, I managed to get a glance that I like. However after all, the sky’s the restrict with this. You are able to do as a lot or as little background shade variation as you want, as a lot or as little “burying” of the large veins as you want, and as a lot or as little small veining as you need. I imply, if one thing like that is extra to your liking, you possibly can actually go loopy with it.
However I personally just like the extra delicate marbles, so this one is ideal. And it actually toned down that obvious white that it was.
