
 In the event you’ve been cross stitching for some time, you may need heard of this hack earlier than, however for our newer stitchers I wished to say it since I got here throughout it once more not too long ago on the Koekoek weblog.
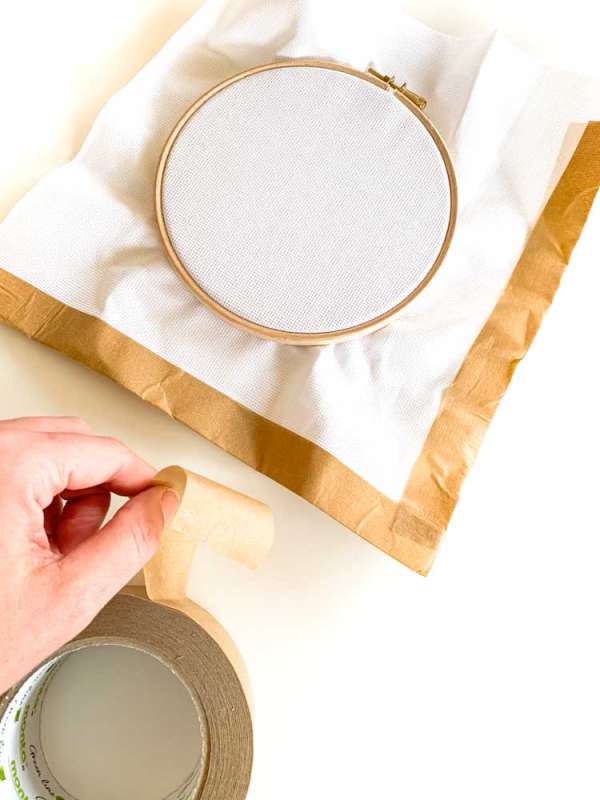
One of many potential issues with working with cross sew material is that it’s woven, so it will probably fray alongside the sides when you are stitching. In case your material is greater than you want in your mission that is merely annoying, however in case you’ve minimize your material to the dimensions you need your mission to be if you body it, you don’t actually need to lose a variety of material on the edges.
There are many potential methods to cease this fraying, together with stitching the sides with blanket sew, however in case you don’t need to take that form of time on one thing that different individuals won’t ever see, a straightforward technique to cease the fray is with painter’s tape.
My mother used to do that on her initiatives (I feel she used masking tape, not painter’s tape, nevertheless it’s the identical concept) and it’s useful, particularly in case you’re engaged on an enormous mission that’s going to be uncovered to potential fraying for a very long time.
In fact you’ll need to take away the tape if you’re finished stitching, after which you may end the sides in one other means or simply tuck them inside your body, relying on how you intend to complete the mission.
I additionally typically use tape to place a mission in a body, like I did with this upcycled yarn wrapped image body that has a cross sew piece in it. Painter’s tape is good as a result of it removes simply and cleanly and is simple to reposition if it’s essential to transfer your mission round otherwise you resolve you don’t need it framed like that any extra.
Study all the small print of this method over on the Koekoek weblog. And let me know what you do to stabilize the sides of your initiatives when you’re stitching!
[Photo: Koekoek]
